Chapter 1 of 11
Access and your account
Signing in, creating an account, recovering your password and managing your plan.
On this page
- 1.1Signing in to your account
- 1.2Creating a new account
- 1.3I've forgotten my password
- 1.4Verifying your email address
- 1.5Accepting an invitation to a project
- 1.6My Account: your details
- 1.7Your plan, your credits and your billing
- 1.8Deleting your account
- 1.9Connecting your own AI
- 1.10Connecting your GitHub account
- 1.11Choosing Easy or Advanced mode
- 1.12Page not found
This part of the manual covers everything you see before you get into Speaksite and everything you manage about your account once you are in: signing in, creating an account, recovering your password, verifying your email, accepting an invitation to someone else's project, your plan and your credits, connecting your own AI, and deleting your account.
It is the shortest part of the manual and the one most people need: almost every "I can't get in" starts here.
1.1Signing in to your account
What it's forIt's the front door to Speaksite. With your email and your password you get into the dashboard, where all your websites live.
How to get thereOpen speaksite.app in your browser. If you have never signed in, or you signed out, this is the first screen you will see.
What's on screen
- Email and Password: your sign-in details.
- Forgot your password?: the small link on the right. This is the one to press if you can't remember it; we explain it in "I've forgotten my password".
- Sign in: the big button. If the details are right, you land straight on your projects dashboard.
- Don't have an account? Sign up: switches the form to the registration one without leaving the screen.
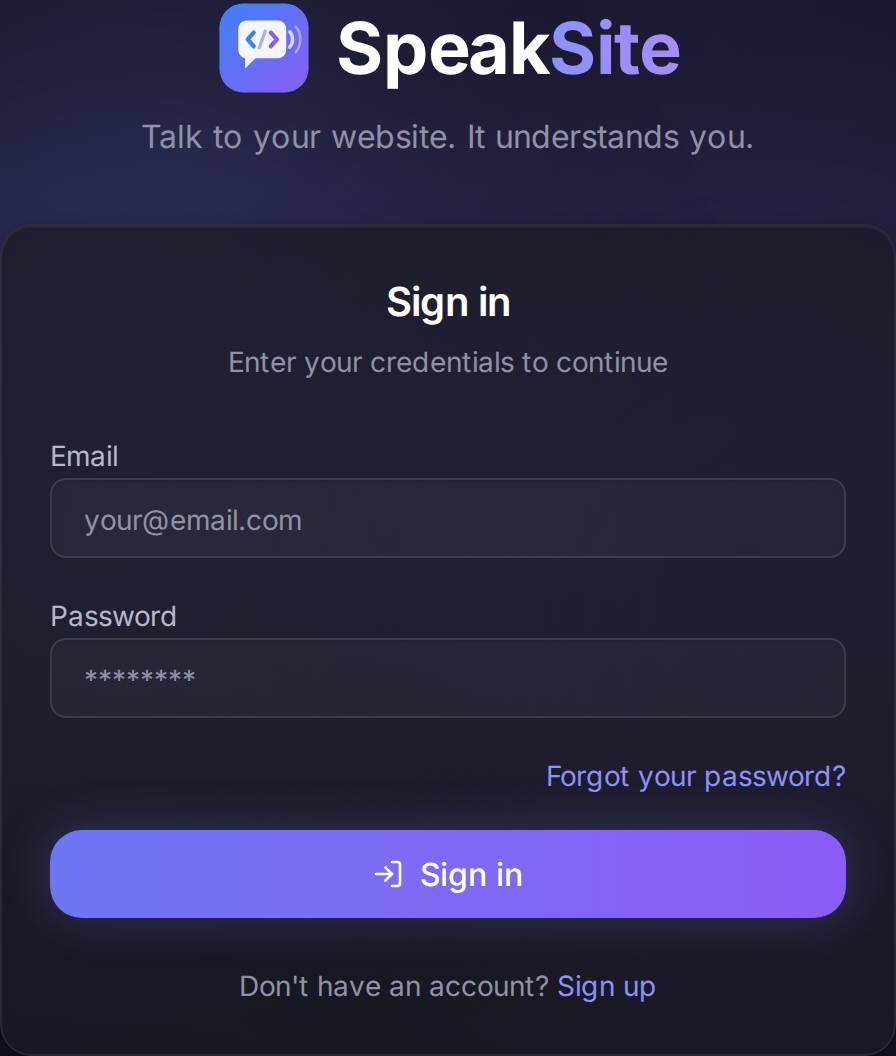
An exampleEmma runs a bakery and wants to sign in to change her opening hours: she opens speaksite.app, types emma@thegoldencrustbakery.com, types her password, presses Sign in and lands on the dashboard with her site's card on it.
If you get the password wrong. The form won't let you through and a red warning appears above the email field. Nothing you typed is lost: fix the password and press Sign in again. (That particular message still comes back from the server in Spanish today — "Las credenciales proporcionadas son incorrectas", meaning the details you entered are incorrect.)
And if you get it wrong several times in a row. For security, Speaksite stops accepting attempts from your connection for a while. The warning changes to "Too Many Attempts." It does not mean your account is locked or that it has been deleted: it means "wait a bit". If you can't remember your password, don't keep guessing: use Forgot your password?.
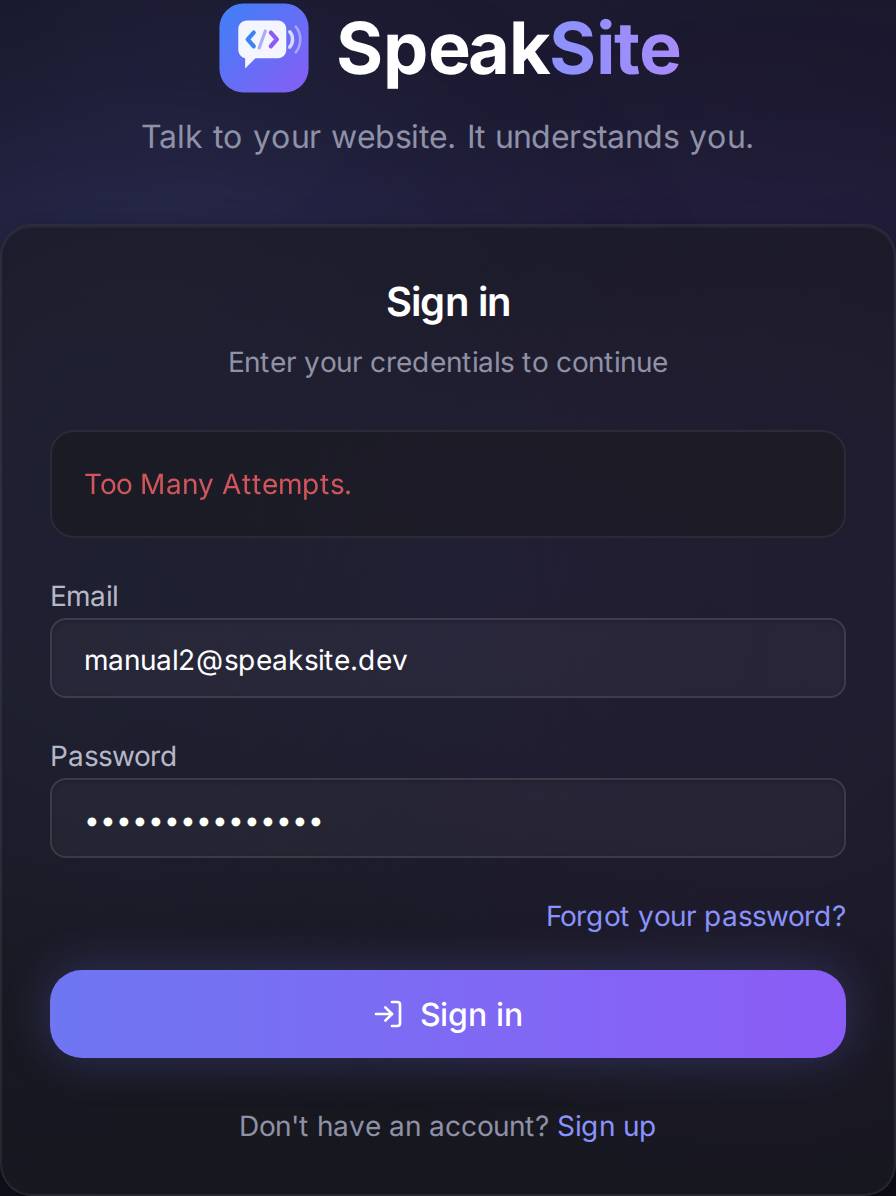
Watch out for…
- Keeping on trying makes the wait longer. Every failed attempt counts; the block can end up lasting close to an hour.
- Capital letters. The password is case-sensitive; the email address is not.
1.2Creating a new account
What it's forSigning up to Speaksite. Starting is free: the account is created on the basic plan and you decide from the inside whether to move up.
How to get thereOn the sign-in screen, press Sign up (right at the bottom). You can also go straight to speaksite.app/register.
What's on screen
- Name: what you'd like us to call you. It shows up later on your profile and in our emails.
- Email: this is where the verification email and the notices will arrive. Use one you actually read.
- Password: 8 characters minimum.
- I accept the Terms and Conditions: required. The create-account button stays greyed out until you tick it.
- I'd like to receive updates…: optional, and you can change it later from My Account.
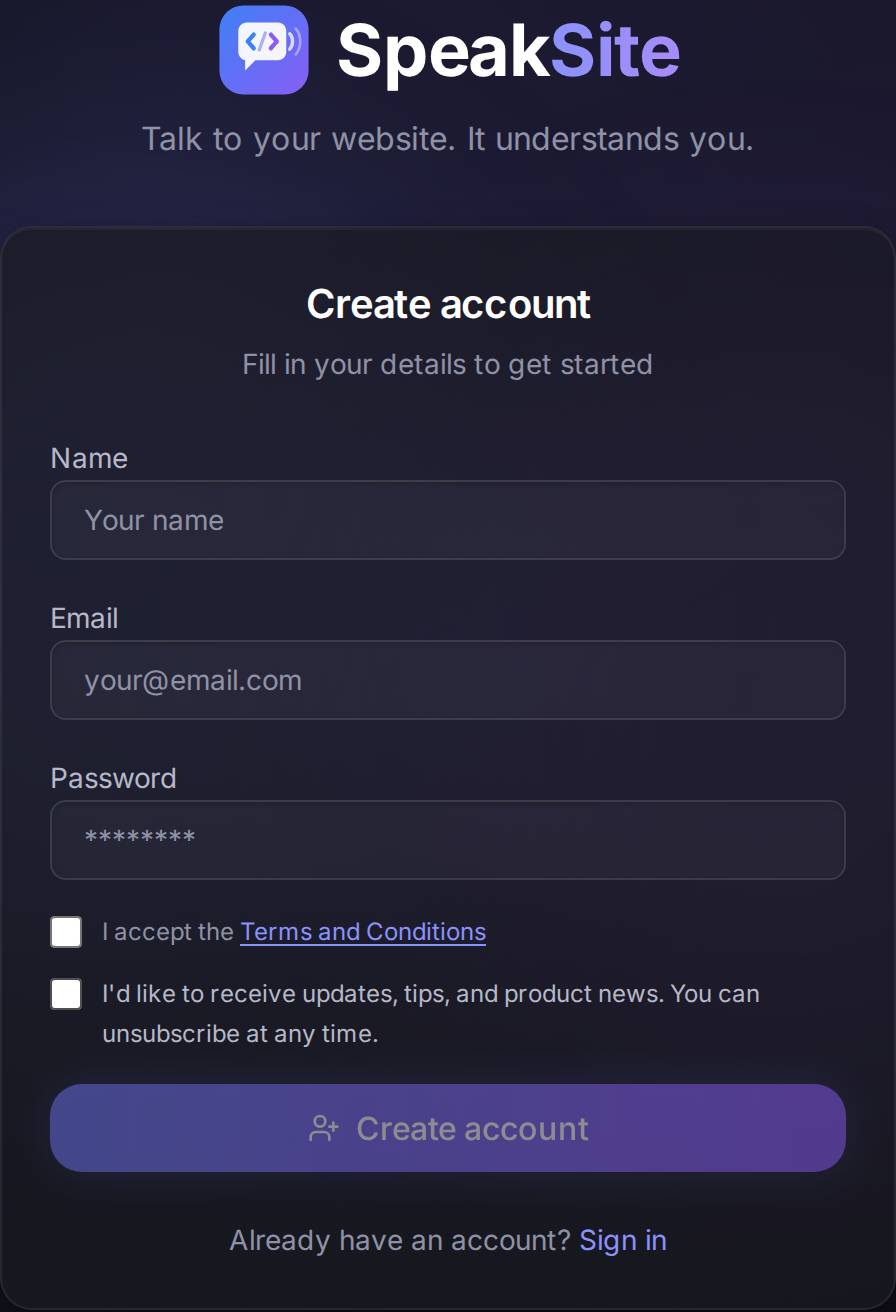
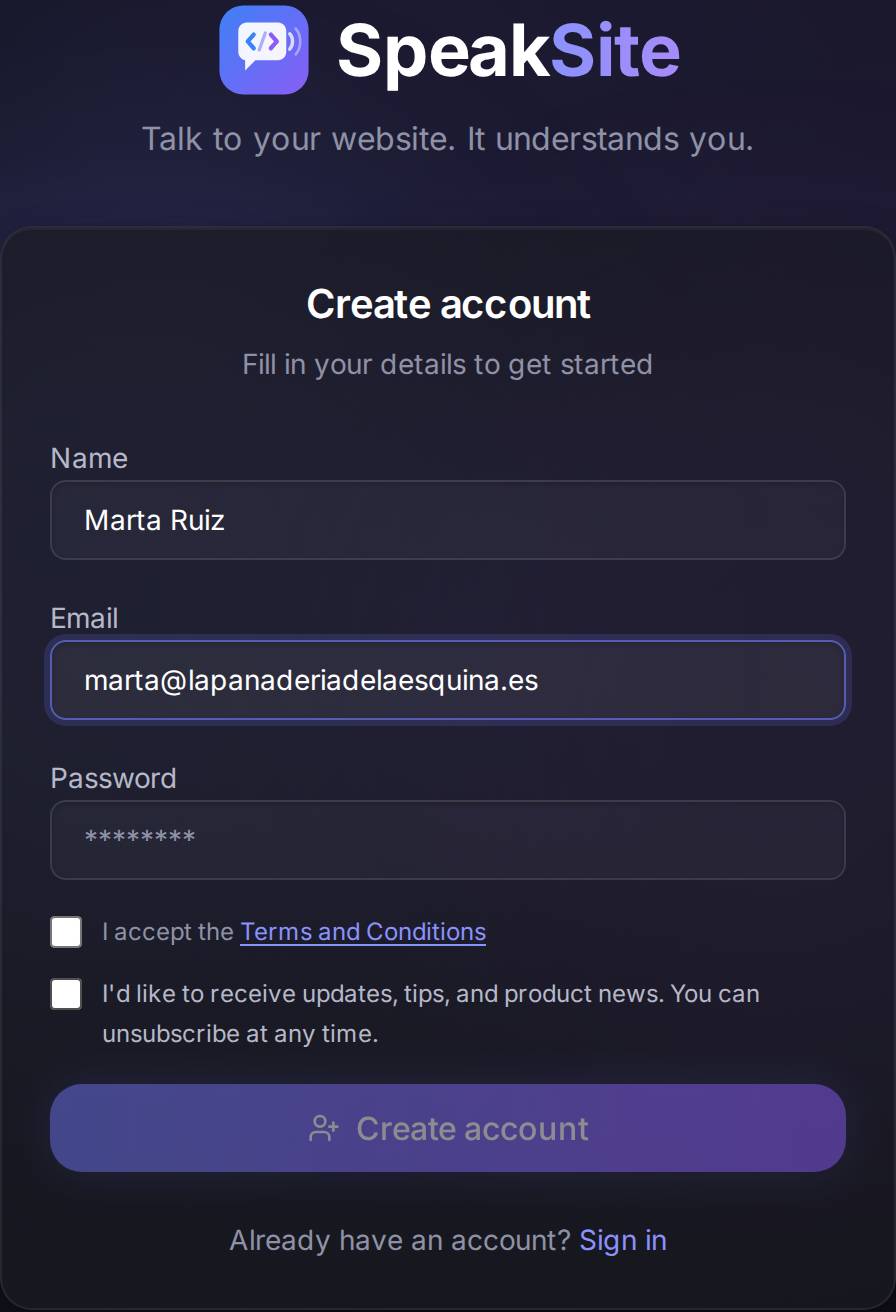
An exampleEmma signs up: she types "Emma Clarke", her email, a password of more than eight characters, ticks I accept the Terms and Conditions, leaves the updates box unticked and presses Create account. She lands straight on the dashboard and, at the top, sees the notice asking her to verify her email (see "Verifying your email address").
Watch out for…
- The email has to be yours and it has to work. Until you verify it you can't use every feature, and the verification arrives by email.
- There's no "repeat password" field. Type it carefully; if you get it wrong, you'll have to recover it from the sign-in screen.
1.3I've forgotten my password
What it's forGetting back in when you can't remember your password. Speaksite emails you a link that opens the screen where you set a new one.
How to get thereOn the sign-in screen, press Forgot your password?.
What's on screen. A single field for your email and the Send reset link button.
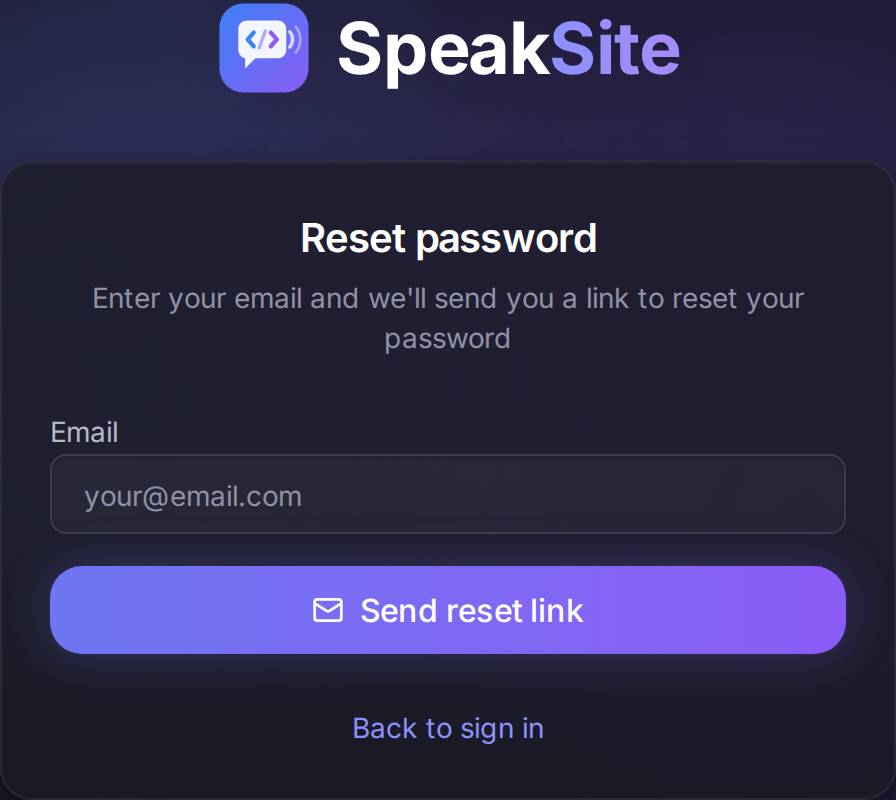
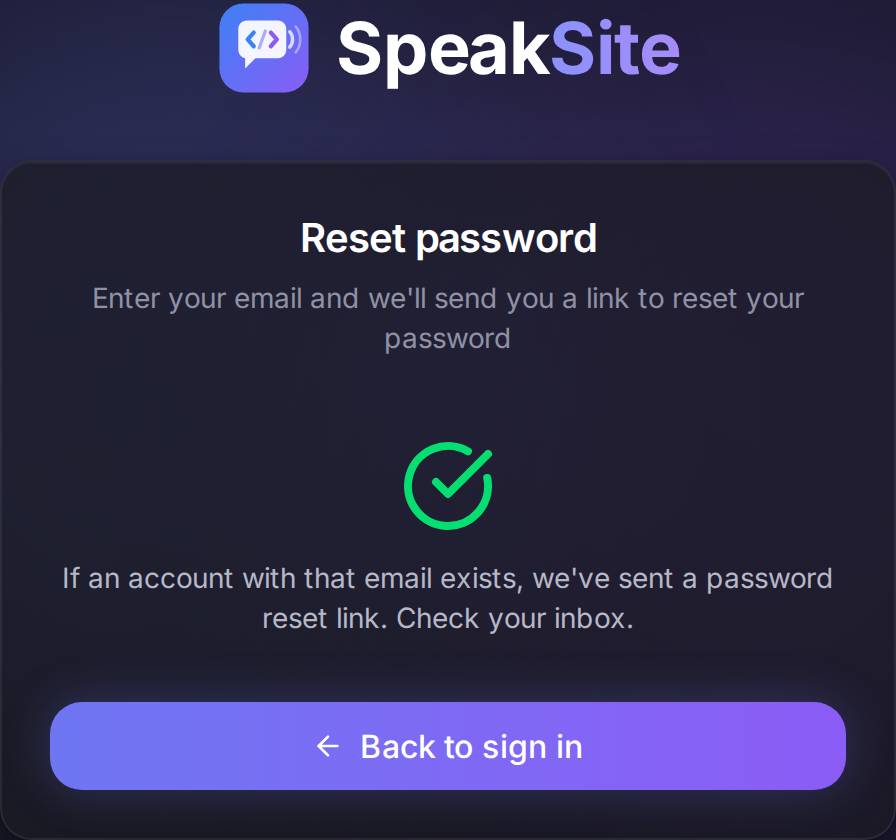
When you press Send reset link, the form is replaced by a confirmation message. Read it closely: it says "if an account with that email exists". That is deliberate, so that nobody can find out who has an account by trying addresses. If you got the address wrong, the message will be exactly the same but nothing will arrive.
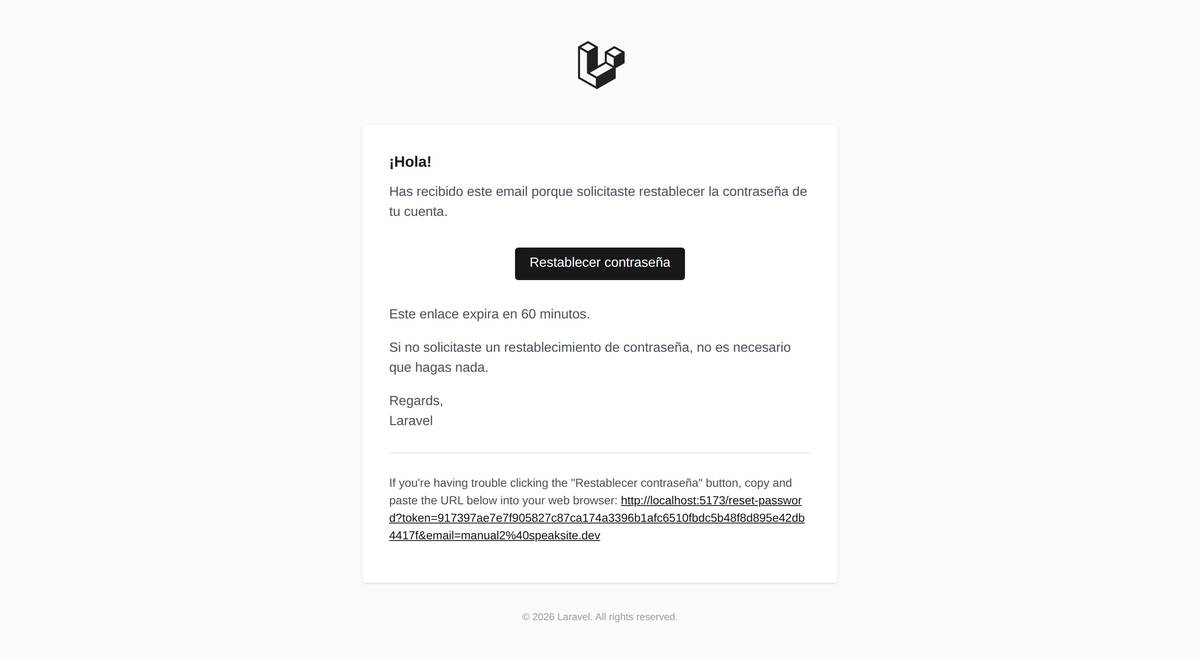
The email you get. A message turns up in your inbox with a big button, Reset Password. Underneath it you'll find the full address in case the button doesn't work in your email program.
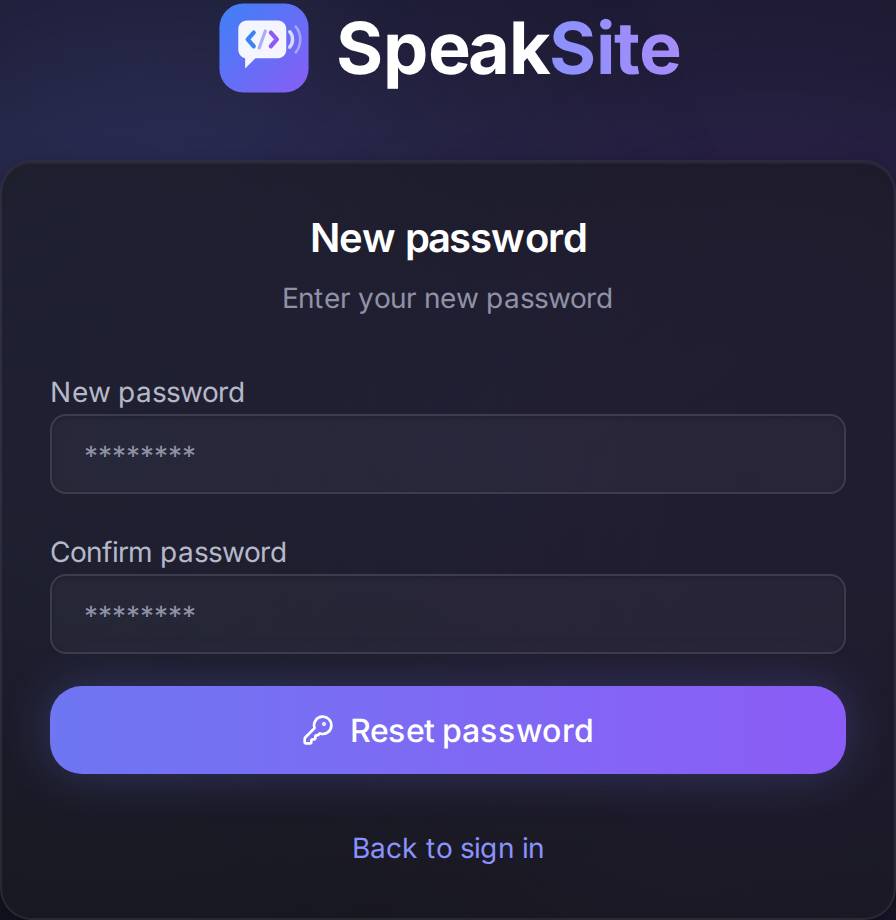
The new-password screen. Pressing the button in the email opens this screen, with your account already recognised: all you have to do is type the new password twice.
An example from start to finishEmma can't remember her password: she presses Forgot your password?, types emma@thegoldencrustbakery.com and presses Send reset link. She opens her email, presses Reset Password, types GoldenOven2026! in both fields and presses Reset password. The screen tells her it's done and offers Go to sign in. She signs in with the new one.
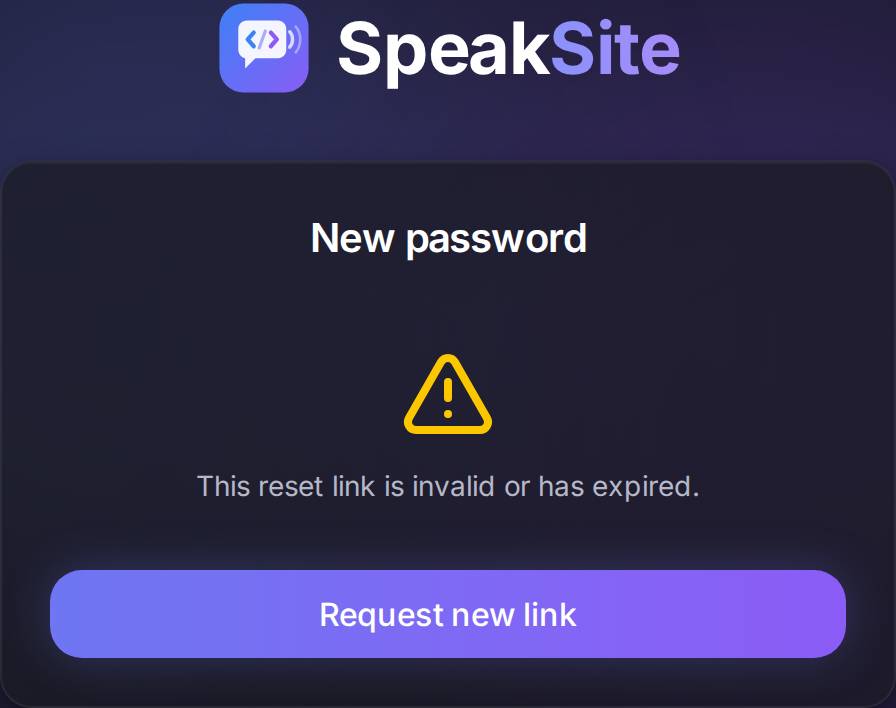
If the link no longer works. If you take more than an hour, if you have already used it, or if you copy the address badly, the screen won't let you set a password and offers to send you another link.
Watch out for…
- The link expires in 60 minutes and only works once. If you ask for two emails in a row, only the last one works.
- Check your spam folder if you don't see it within a few minutes.
- Asking for the link does not change your password. The old one keeps working until you set the new one.
1.4Verifying your email address
What it's forProving that the address you gave is yours. Until you do, Speaksite reminds you every time you come in.
How to get thereYou don't: it comes to you. When you sign up we send you a verification email, and the notice sits on your dashboard until you verify.
The notice on the dashboard. It's the blue bar right at the top, above your projects. It carries a Resend email button in case the first one never arrived. This notice lives on the dashboard, not in My Account: that's the number-one question about this screen.

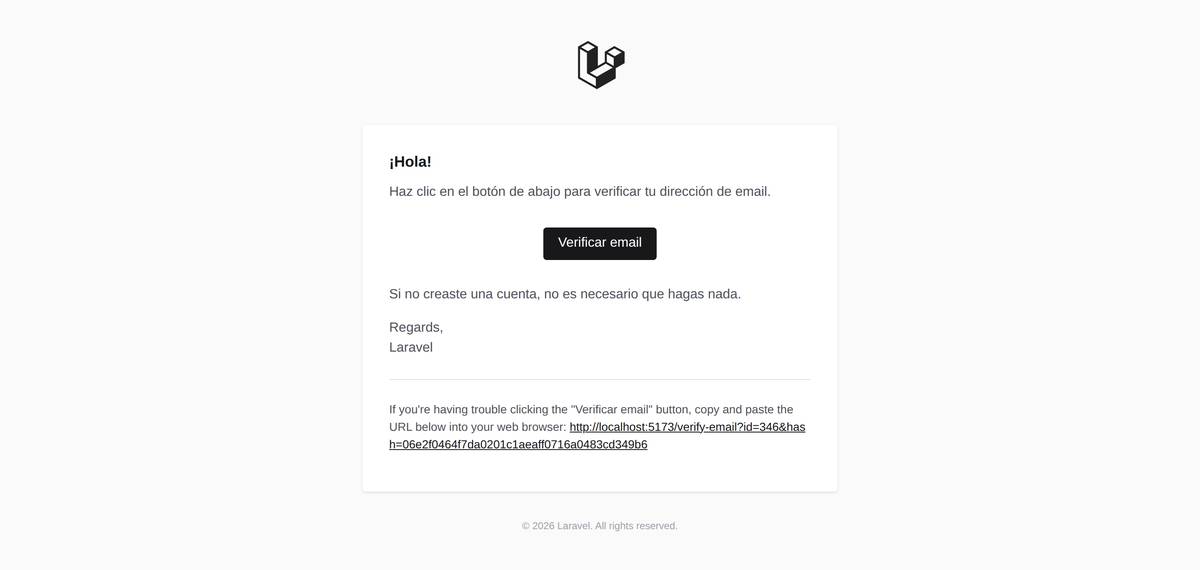
The email you get. A message with a Verify Email button.
What you see when you press it. A screen opens, checks the link and confirms you're done.
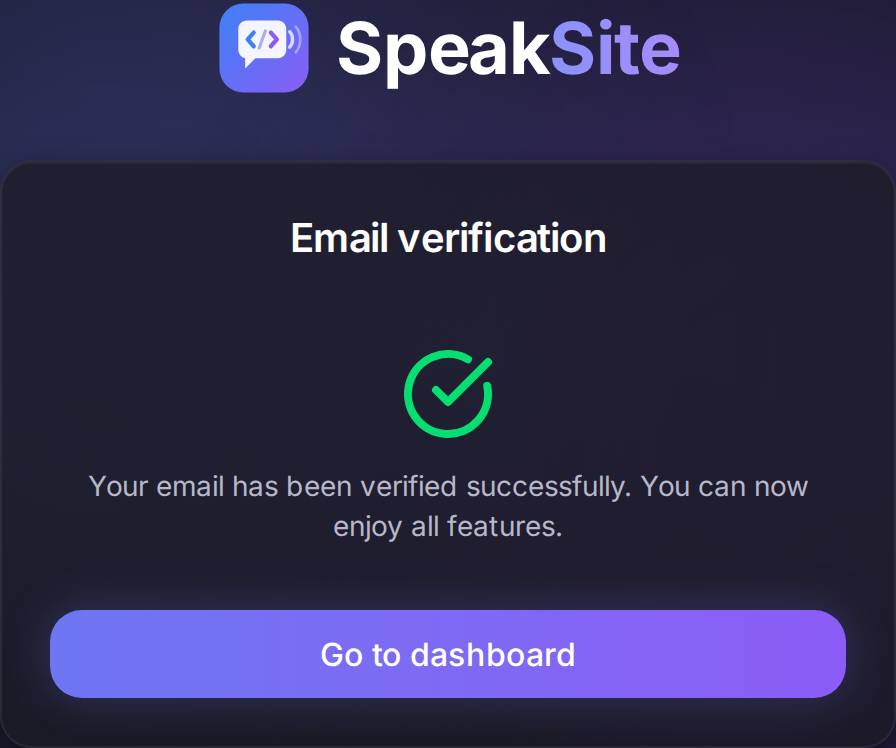
An exampleEmma has just signed up and sees the blue bar. She opens her email, finds nothing, goes back to the dashboard and presses Resend email. This time it arrives; she presses Verify Email, sees the green tick and returns to the panel: the blue bar is gone.
Watch out for…
- Resending several times in a row doesn't help. There's a limit per minute; go over it and the button tells you to wait a moment.
- If the link says it has expired, ask for another one from the dashboard notice: old links stop working as soon as a new one is generated.
1.5Accepting an invitation to a project
What it's forWorking on someone else's website without them handing over their password. Whoever invites you chooses whether you can edit or only view.
How to get thereThrough the link you receive by email when someone invites you. Before you can see the invitation you have to be signed in to Speaksite with the account for the email address you were invited on; if you don't have an account, the link takes you to create one and brings you back to the invitation on its own.
What's on screen. Who is inviting you, to which project and with what role (Editor or Viewer), plus two buttons: Accept invitation and Decline.
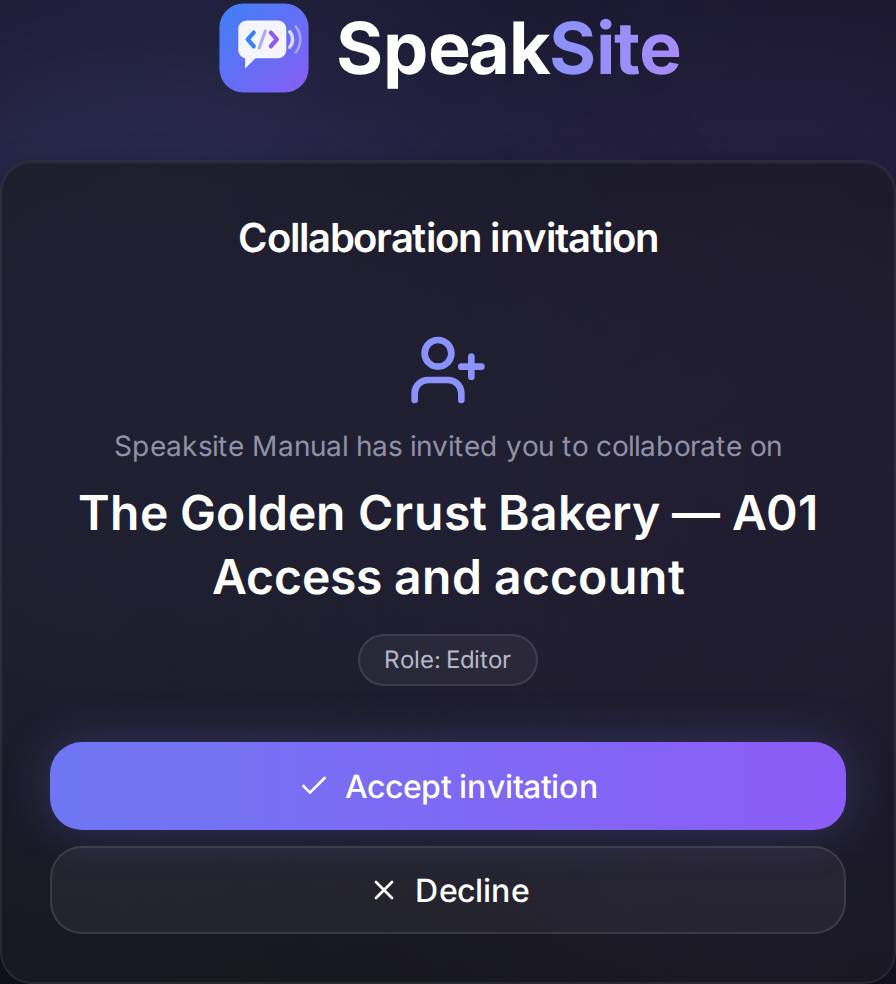
An exampleThe bakery's owner invites Emma as an Editor. The email reaches her, she presses the link, signs in with her account and sees "Speaksite Manual has invited you to collaborate on The Golden Crust Bakery", with the label "Role: Editor". She presses Accept invitation and lands inside that site's editor.
Watch out for…
- The invitation is tied to one specific email address. If you sign in with a different account, the screen will tell you that "this invitation is invalid, already accepted, or not for your account". That isn't a fault: sign in with the right account.
- Declining is final. If you change your mind, ask to be invited again.
- Accepting costs you no credits and doesn't change your plan. Any credits spent working on that site belong to whoever invited you.
1.6My Account: your details
What it's forSeeing and changing what's yours: name, email, panel language, whether you want product updates, and your password.
How to get thereOn the dashboard, press your name at the top right and pick My Account.
What's on screen. The first card, My Profile, with your initial, your name, your email, the panel language, the product-updates checkbox, your plan badge and the Change password button.
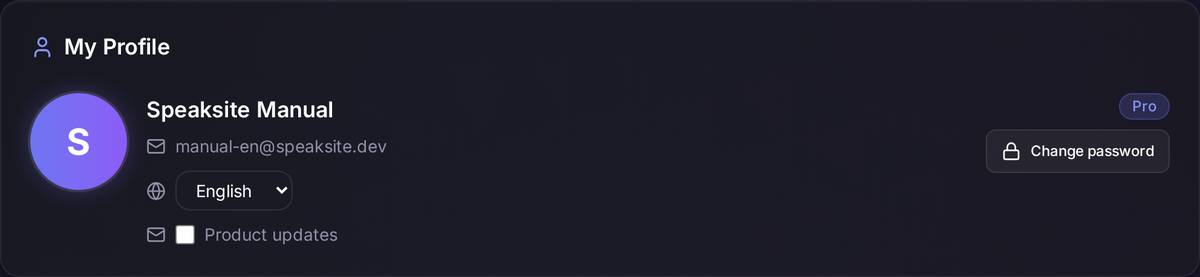
Language. The dropdown with the globe changes the language of the panel (and of the emails we send you). It saves by itself, with no save button.

Changing your password from inside. Press Change password and a dialog opens with three fields: your current password, the new one, and the new one repeated.
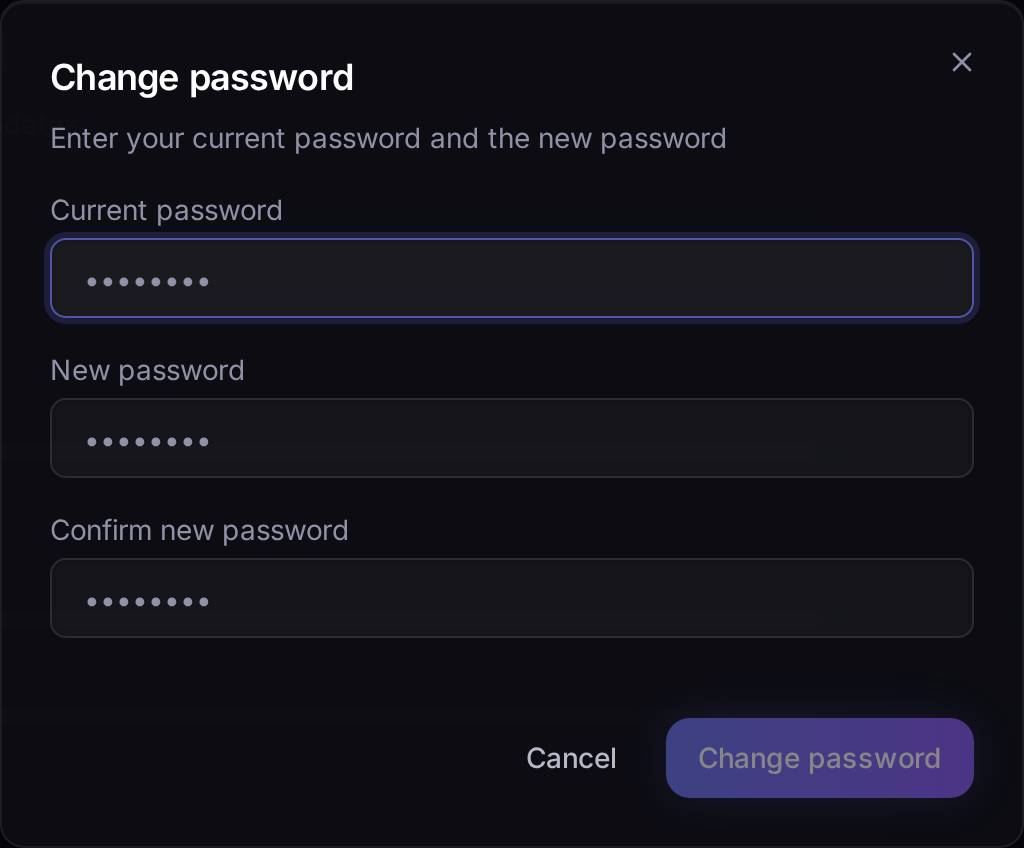
An exampleEmma has shared her password with a supplier and wants to change it: she goes into My Account, presses Change password, types the current one, types MotherDough2026! twice and presses Change password. A green message confirms it's done; her session stays open.
Also on this screen. Further down there's an Invite & Earn block with your referral link, and another one called Connect with Claude, which is the shortcut to the Connect AI screen (see "Connecting your own AI").
Watch out for…
- You can't change your email address from here. If you need a different one, write to support.
- The product-updates checkbox only affects marketing emails. Important notices about your account (invoices, security) reach you either way.
1.7Your plan, your credits and your billing
What it's forKnowing how much of your plan you've used, how many credits you have left, and changing, cancelling or resuming your subscription.
How to get thereIn My Account, scroll down to the Plan Usage card.
What's on screen
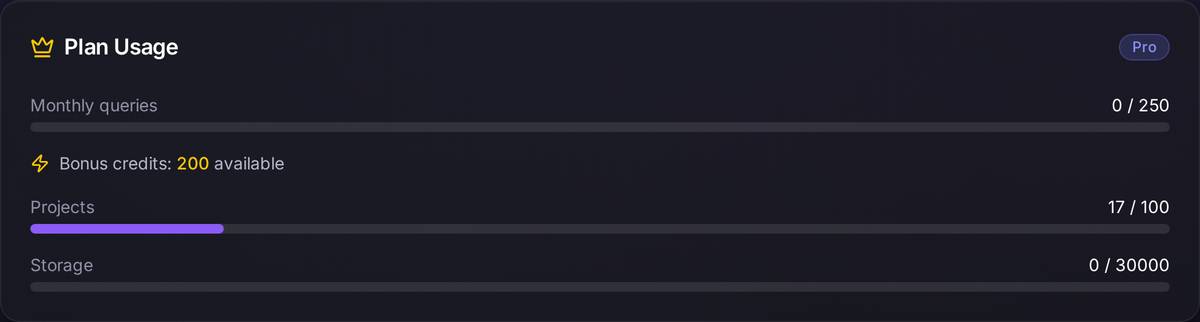
- Monthly queries: the AI requests you have used this month out of your plan's total. They reset to zero every month.
- Bonus credits: the ones you bought separately. These don't expire at the end of the month and are spent once the monthly ones run out.
- Projects and Storage: how many sites you have and how much space they take up out of your plan's maximum.
- If you have a paid subscription, you'll also see Manage billing (which takes you to the payment provider, where your invoices and your card live), Cancel subscription and, if you already cancelled, Resume subscription.
Changing plan or buying credits. Just below sits the Plans & Credits card: a grid with one box per plan (Free, Personal, Starter, Pro and Agency), and a Monthly / Annual switch at the top right — annual works out at two months free. Each box shows the price per month, a dropdown to choose how many monthly credits you want within that plan, what's included (projects, storage, custom domain, removing the watermark…) and a Subscribe button. The plan you're on is marked as Current Plan. Prices are shown without VAT: for customers in Spain, 21% is added at checkout.
This card is deliberately left without a screenshot: the environment used for this walkthrough also has several internal test plans sitting in the database ("Debug", "E2E Golden Plan"…) that a customer never sees, and a screenshot with them in it would show a product that doesn't exist. It's noted in the known-issues appendix so it can be redone on a clean environment.
An exampleEmma has 12 queries left and needs to redo her online-orders page: she goes into My Account, looks at Plan Usage and sees "238 / 250". She scrolls down to Plans & Credits, opens the credits dropdown for her current plan, moves up to the next level, presses Subscribe, pays at the checkout and, on her way back, the counter already reflects it.
Watch out for…
- Cancelling doesn't wipe anything straight away. The subscription stays active until the end of the period you've paid for; until that date you can resume it.
- Moving down a plan takes effect at the end of the period, not immediately: until then you keep what you had.
- Credits you've bought are not refunded when you change or cancel your plan.
1.8Deleting your account
What it's forLeaving Speaksite and taking everything you have inside with you. It isn't a pause: it's a deletion.
How to get thereIn My Account, scroll all the way down to Danger zone.

What happens when you press it. A dialog opens explaining what you're about to lose and asking for your password to confirm. Until you type the password and press Delete account, nothing is deleted.
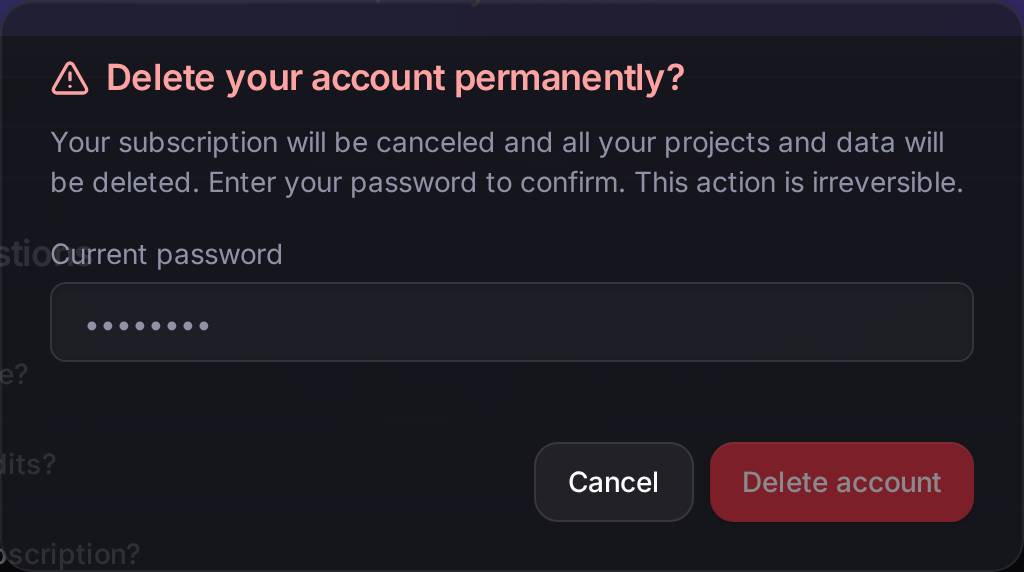
An exampleEmma is closing the bakery and doesn't want to keep paying: she goes into My Account, scrolls down to Danger zone, presses Delete my account, reads the warning, types her password and presses Delete account. Her subscription is cancelled and her sites are gone.
Watch out for…
- This cannot be undone. The subscription is cancelled and all your projects and their data are deleted. If you want to keep something, download it first.
- Deleting your account does not cancel any domains you've bought elsewhere: those are managed wherever you bought them.
1.9Connecting your own AI
What it's forLetting an AI assistant (Claude or another one) work with your Speaksite projects from outside the panel: asking it about your pages, requesting changes, and so on. For that you need a key, which here is called a token.
How to get thereIn My Account, press Manage tokens and scopes in Connect AI (inside the "Connect with Claude" block). You can also go to speaksite.app/connect-ai.
What's on screen. Four blocks, top to bottom: an explanation, the form for creating a new key, the details ready to paste into your assistant (they appear right after you create it) and the list of the keys you already have, with the date they were created, their last use and the revoke button.
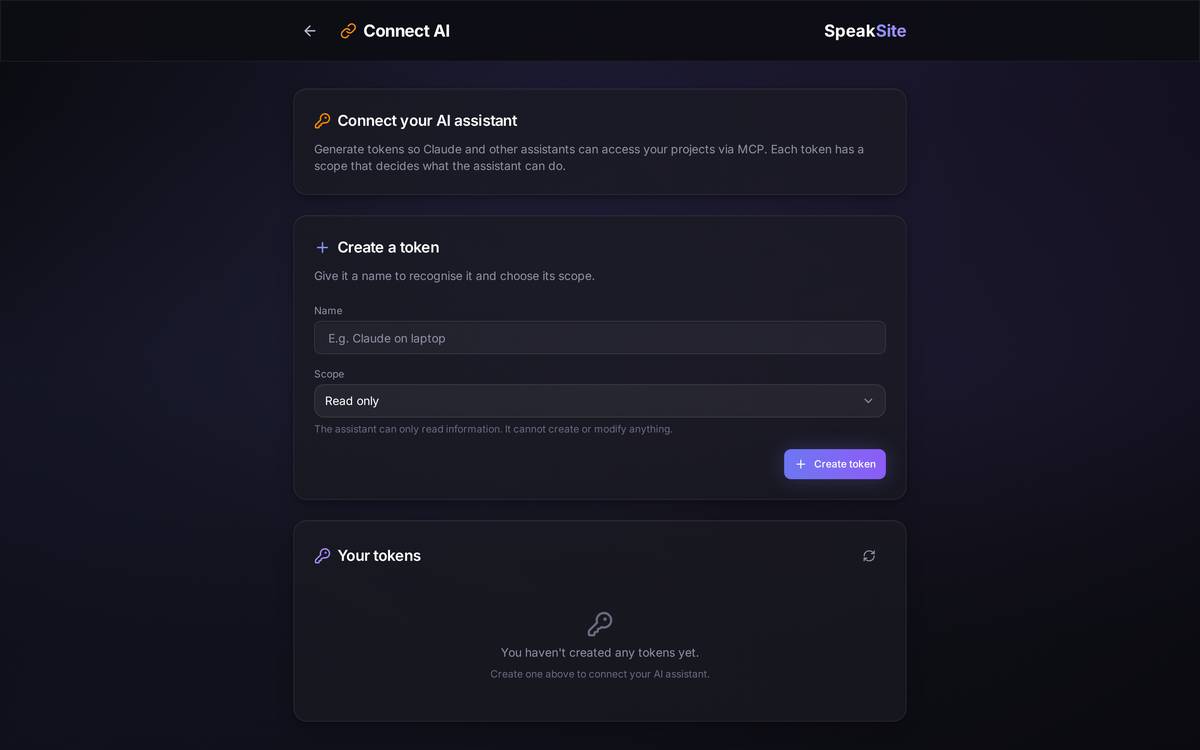
Creating a key. Give it a name you'll recognise ("Claude on laptop") and choose the scope, which is what you're letting it do:
- Read only: it can look things up, it touches nothing.
- Read and write: it can create and modify content, but not do destructive things.
- Full (incl. dangerous): full access, including deleting and publishing.
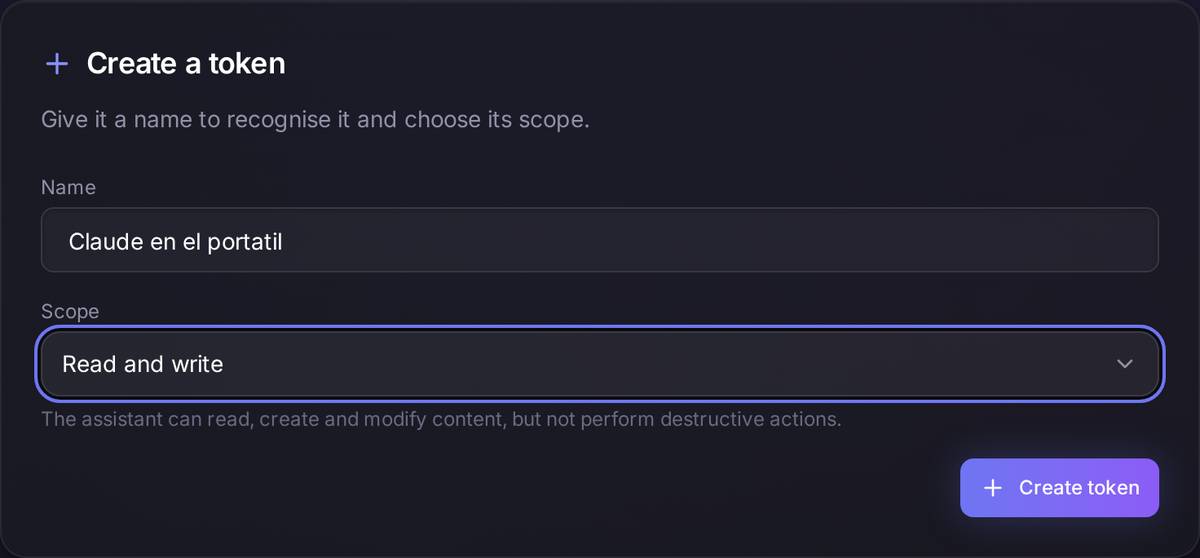
An exampleEmma wants Claude to draft blog posts for her but doesn't want it to be able to publish or delete anything: she goes into Connect AI, types "Claude on laptop", picks Read and write, presses Create token, copies the key the screen shows her and pastes it into her assistant's configuration.
Watch out for…
- The key is shown once and only once. Copy it there and then; if you lose it, there's no way to see it again: you have to create another.
- Treat it like a password. Anyone who has it gets into your projects with the scope you gave it.
- Revoking is immediate and final. Any assistant that was using it stops working on the spot.
- Think twice before granting full scope: it includes deleting and publishing.
1.10Connecting your GitHub account
What it's forKeeping a copy of your sites' code in your own GitHub account. It's optional, and it works per account, not per project.
How to get thereIt's in the dashboard header, between the query counter and your name: the Connect GitHub button.

What happens when you press it. GitHub opens so you can authorise Speaksite. On your way back, the button changes to show your GitHub username with a green tick, and you can disconnect it from that same button.
Watch out for…
- Connecting the account doesn't upload anything by itself. The backup for each site is switched on afterwards, from that site's own editor.
- If you disconnect GitHub, the repositories that were already created stay in your GitHub account: they are not deleted.
1.11Choosing Easy or Advanced mode
What it's forDeciding how many options Speaksite shows you. In Easy you only see the essentials; in Advanced everything else appears.
How to get thereIt's the two-button switch in the header, and it's there on the dashboard as well as inside the editor and the shop.
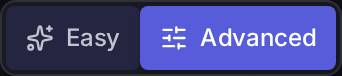
Why it matters to you. It's the number-one cause of "this used to be here and now I can't find it". In Easy mode the editor only shows Pages, Blog, Forms and Media, and the shop only shows Overview, Design, Apps, Products, Orders and Settings. Everything else — languages, SEO, styles, analytics, the GitHub backup, and most of the shop's settings tabs — is there, but hidden until you press Advanced.
An exampleEmma is looking for where you change the text that shows up in Google and can't find anything: she presses Advanced in the header and, right away, SEO, Styles, Languages and the rest of the tools appear in the editor's sidebar.
Watch out for…
- The choice is saved to your account, not to the browser: if you sign in from another computer, it's still how you left it.
- It's only about what you see. Switching to Easy doesn't delete or disable anything you had already set up in Advanced.
1.12Page not found
What it's forTelling you that the address you opened doesn't exist inside Speaksite: an old link, a badly copied address, or a project you've already deleted.
How to get thereBy accident. You'll also see it if you bookmarked an address that has since changed.
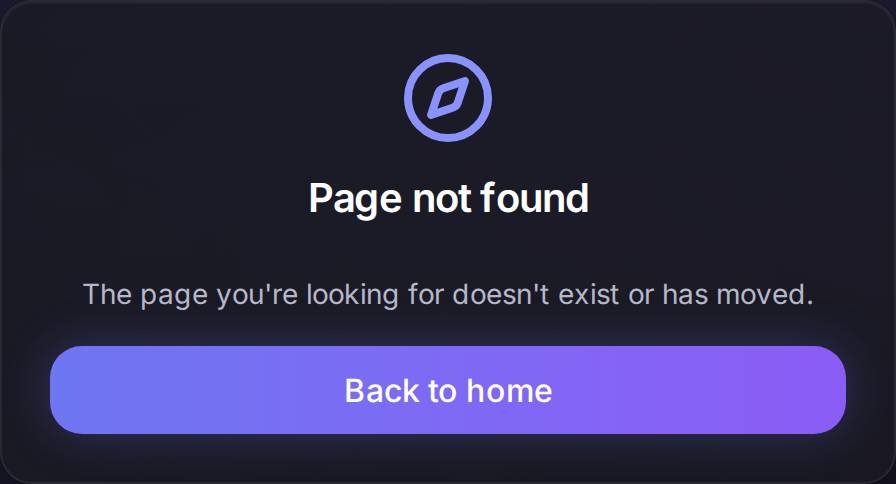
Watch out for… If you land on this screen after opening an invitation link or a password-recovery link, it's nearly always because the link got split across two lines when you copied it out of the email. Copy the whole thing and try again.