Chapter 2 of 11
Your projects dashboard
The screen where all your sites live, and where you create a new one.
On this page
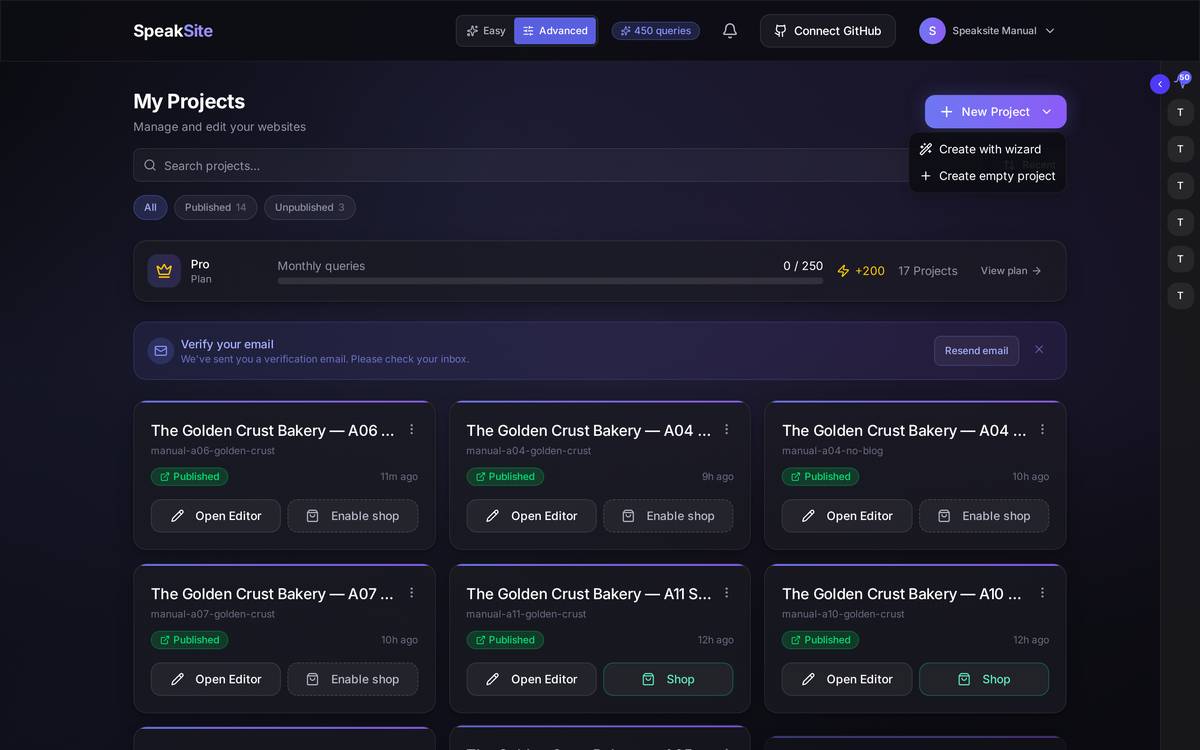
This is the screen you see the moment you get into Speaksite, and the one you run all your sites from: creating a new one, finding it among the rest, opening it to edit it, enabling its shop or deleting it. If you only read one chapter of this manual, make it this one.
2.1My Projects
What it's forIt's your dashboard: the list of every site you've created, with its status and each one's actions a click away.
How to get thereIt's the home screen. If you've wandered off somewhere else, press the SpeakSite logo in the top left corner.
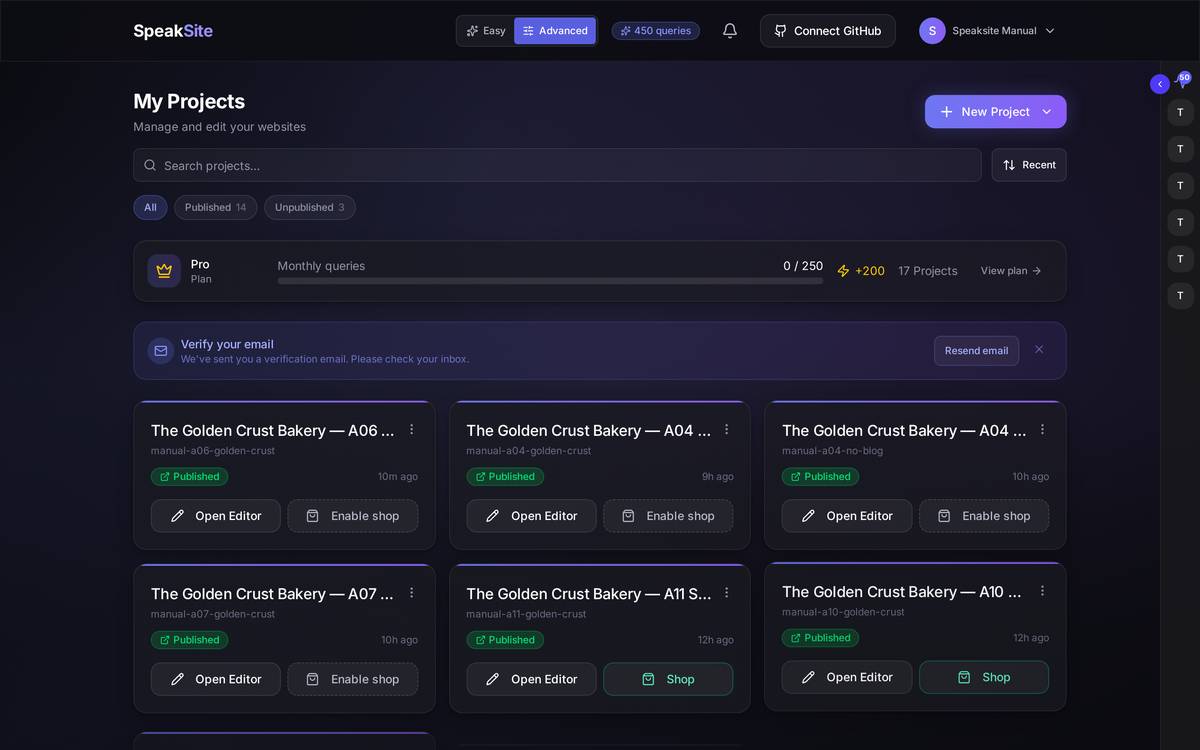
What's on screen
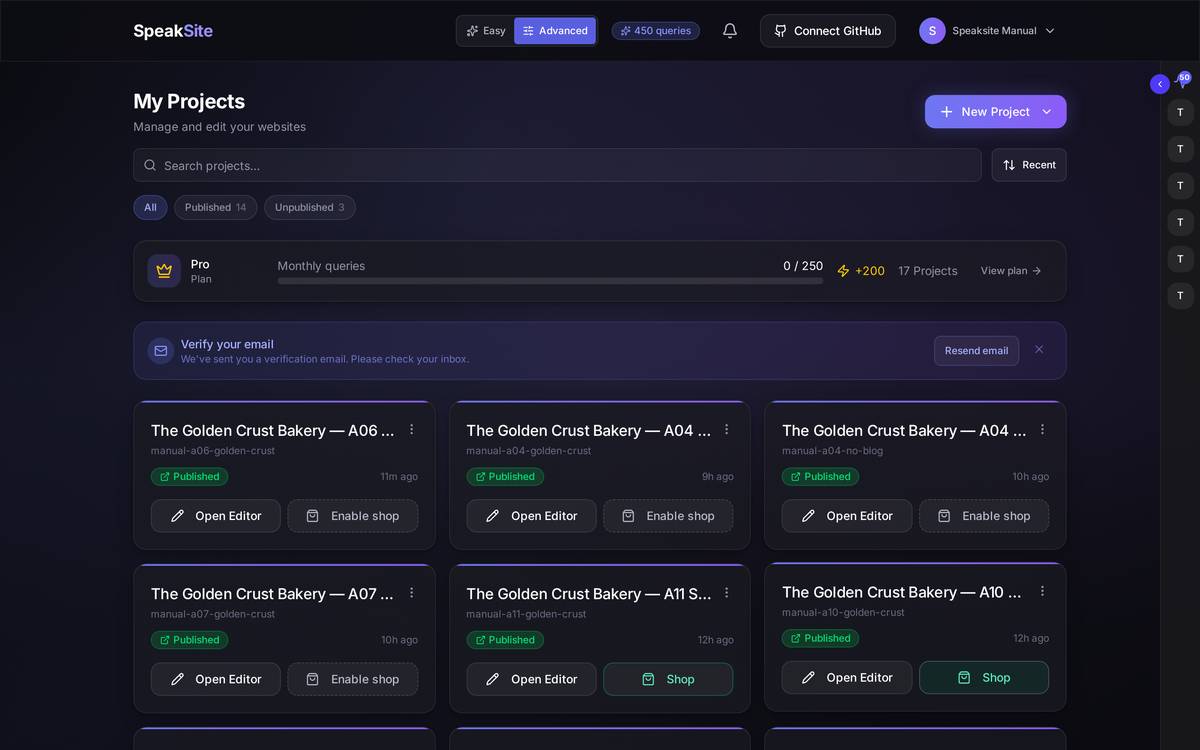
- Easy / Advanced switch (top, next to the logo). In Easy the panel hides the technical options; in Advanced, screens and settings appear that in Easy simply don't exist. If you're following a step from this manual and "can't find" a button, this switch is the first thing to check.
- Queries available (the pill with the number). It's your budget for working with the AI this month: every generation, every tweak you ask the AI for and every translation takes a bite out of it. When it drops, the panel warns you with a Low credits notice.
- Notifications bell: invitations to collaborate on other people's sites.
- Your name: opens My Account, Domains and Log out.
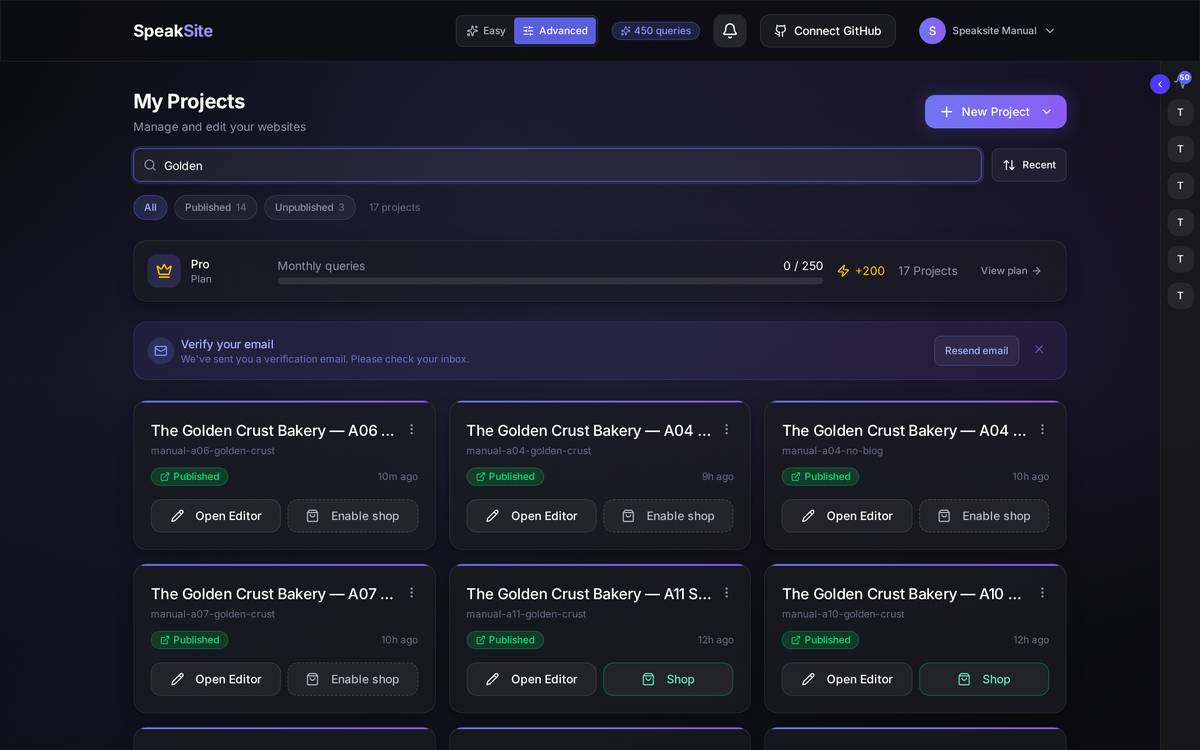
- Plan card (the strip with the crown): the plan you're on, queries used out of your monthly allowance, and number of projects. View plan takes you to the plans and billing screen.
- "Verify your email" notice: it stays there until you verify your address. Resend email sends you another one. The cross hides it, but the email is still unverified.
- Project card: name, address (your domain or the short name Speaksite gave it), a Published / Unpublished badge, when it was last touched, and two buttons: Open Editor and Enable shop (or Shop, if it already has one).
Watch out for… Published means "you published it at some point", not "what you're looking at now is live". The changes you make in the editor live in a draft until you press publish.
2.2A project's actions
What it's forIt gathers, in one menu, everything you can do to a particular site without going into it.
How to get thereOn the dashboard, press the three dots in the top right corner of the card.
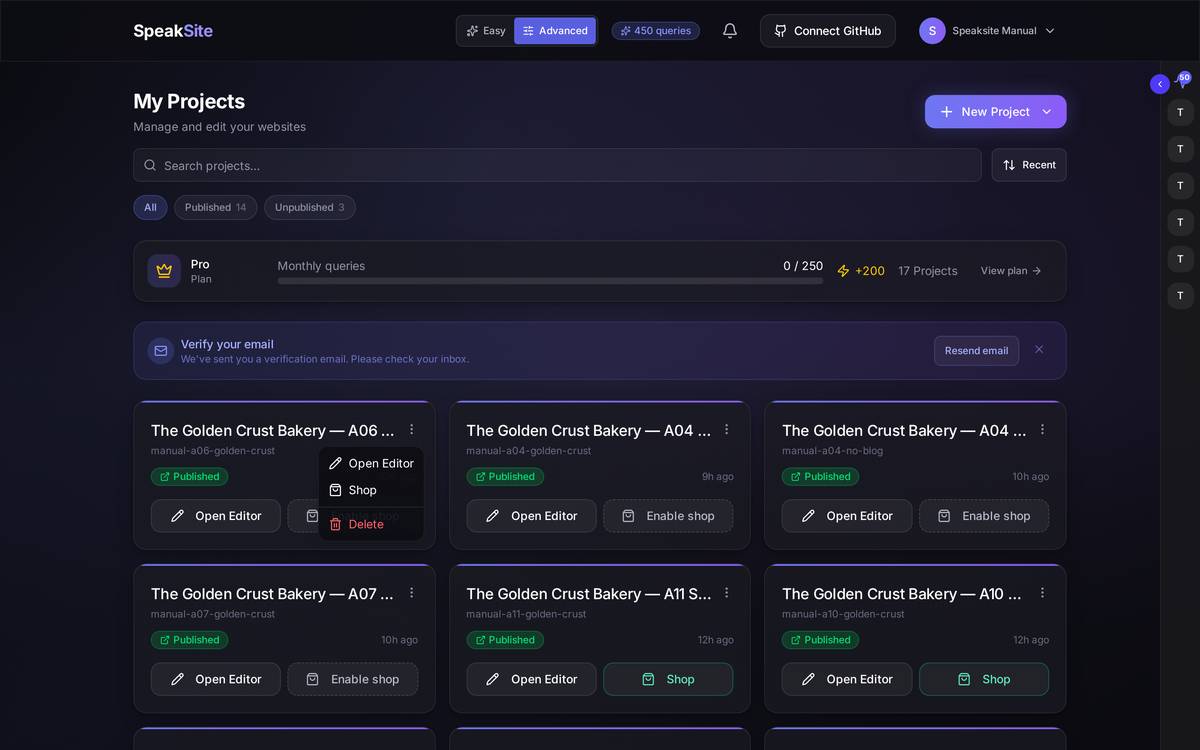
What's on screen
- Open Editor: takes you in to edit the site.
- Shop: takes you to that project's shop side (catalogue, orders, shipping).
- View site: opens it in a new tab exactly as your visitors see it. It only appears once the site is published and already has a public address of its own; that's why it isn't in the screenshot above, even though the project is listed as Published.
- Delete: deletes the project. See the Deleting a project section.
Watch out for… In this version the menu has no "duplicate" and no "share". Inviting someone else to work on a site is done from inside the project, not from this card.
2.3Your account menu
How to get therePress your name, top right.
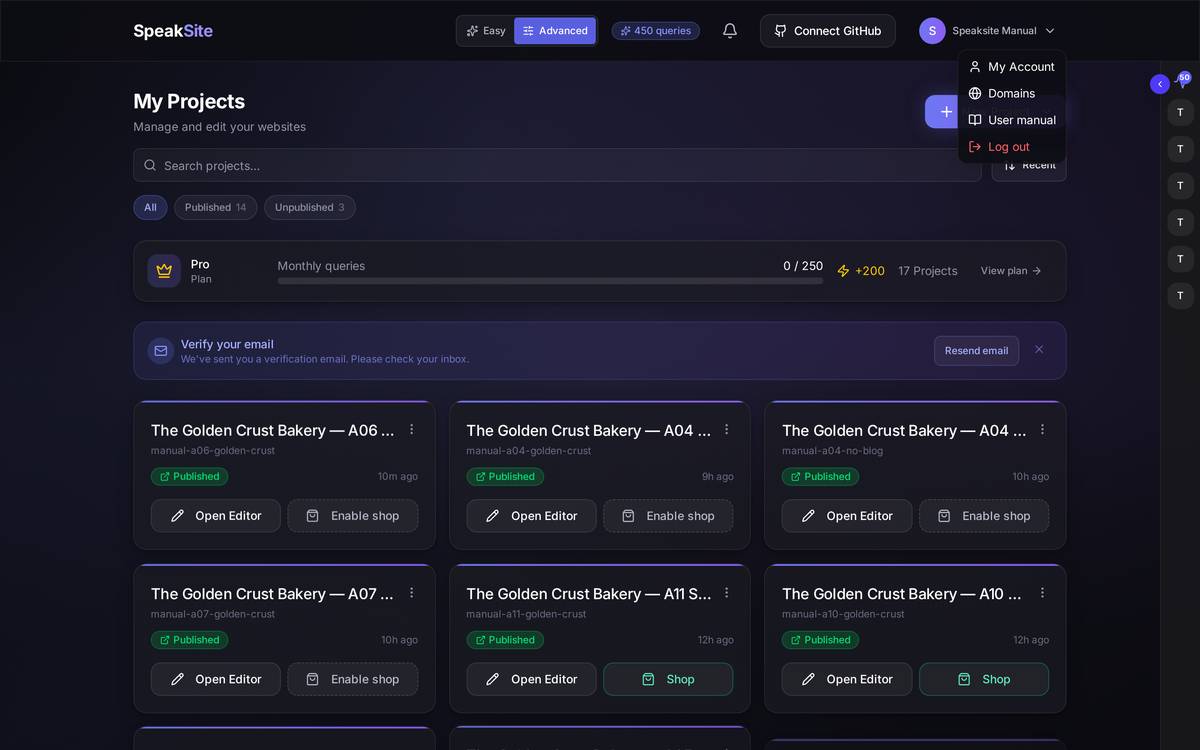
What's on screen. My Account is where you change the panel's language (the language Speaksite speaks to you in). Careful: that is not your website's language — your site's language is chosen in the creation wizard and changed inside the project.
2.4The notifications bell
How to get therePress the bell in the top bar.
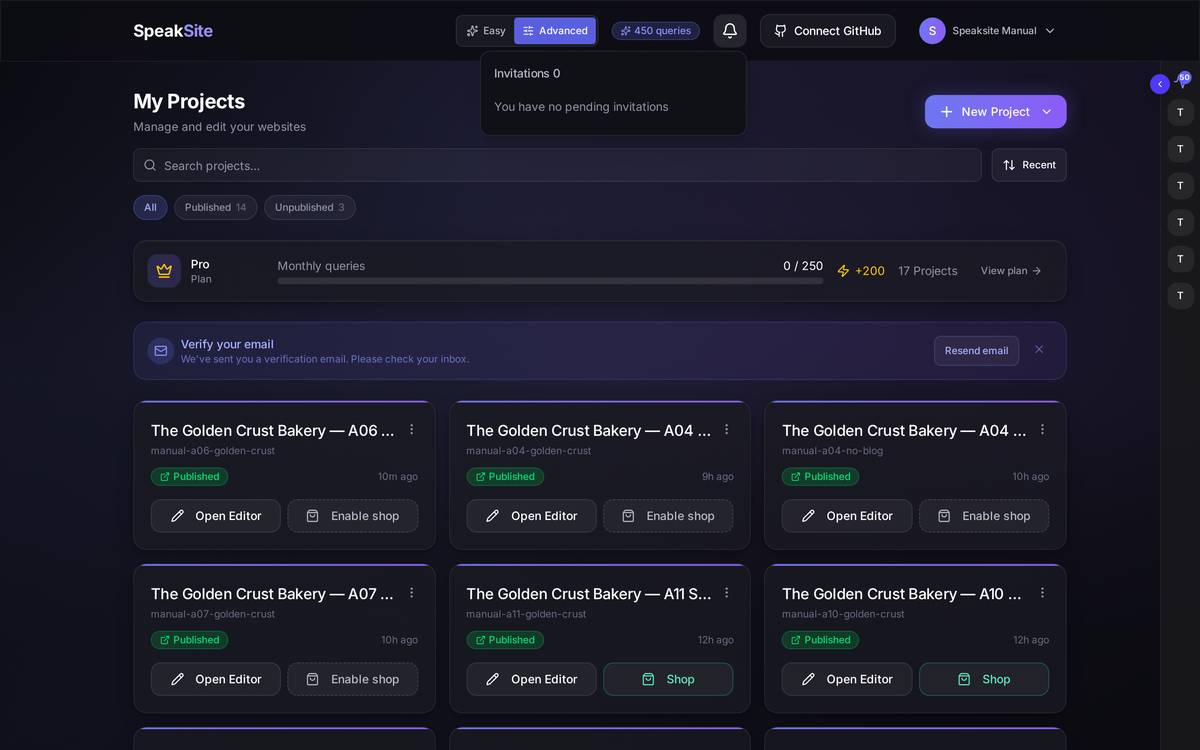
What's on screen. This bell is only for invitations to collaborate on other people's sites: who's inviting you and with what role (Editor, who can change things; Viewer, who can only look). It does not tell you about finished generations or about orders from your shop.
2.5Searching and filtering your projects
What it's forFinding the one you're after once you have more than a dozen sites.
How to get thereIt's always in sight, above the cards.
What's on screen
- Search box: filters by project name as you type.
- Filters: All, Published, Unpublished and Generating. Each carries its count beside it; the ones at zero aren't shown.
- Sort button (to the right of the search box).
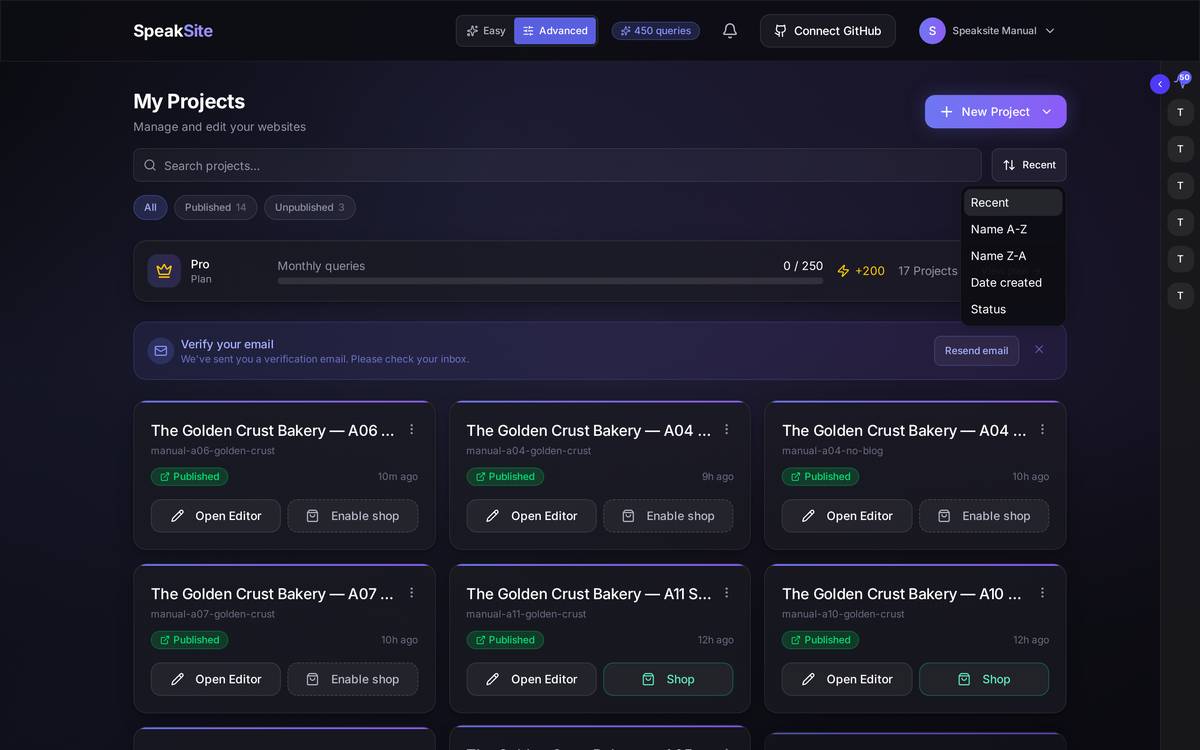
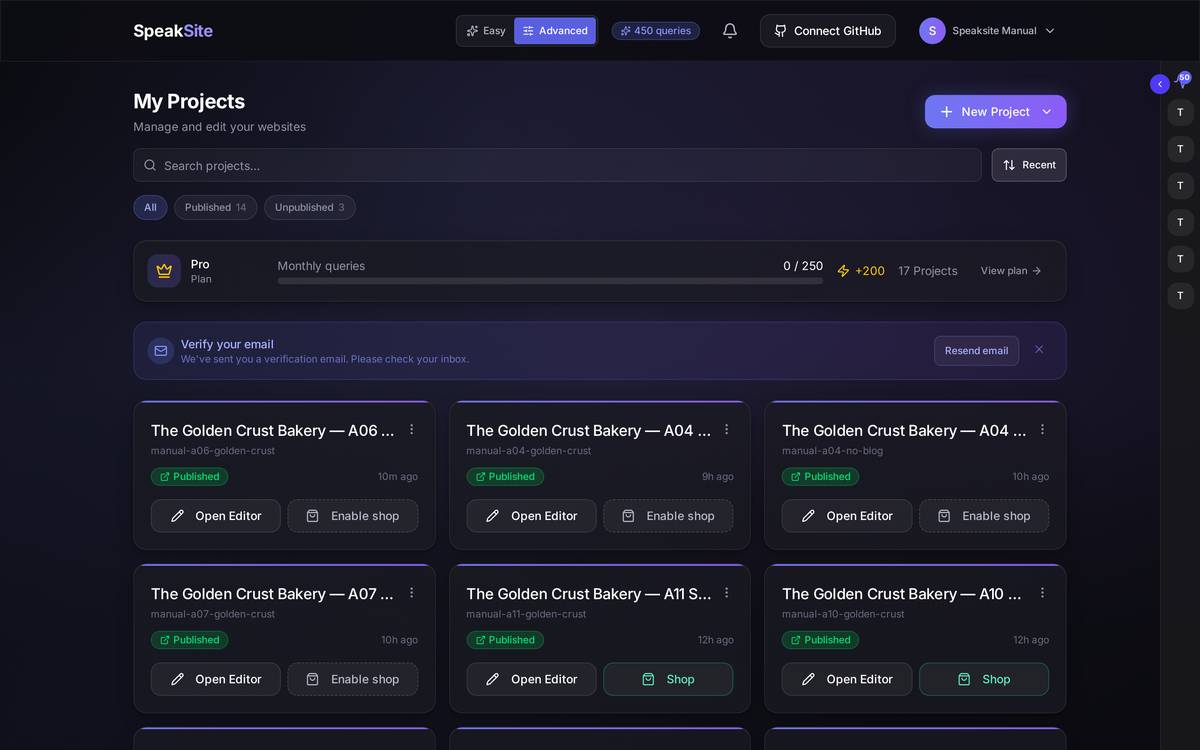
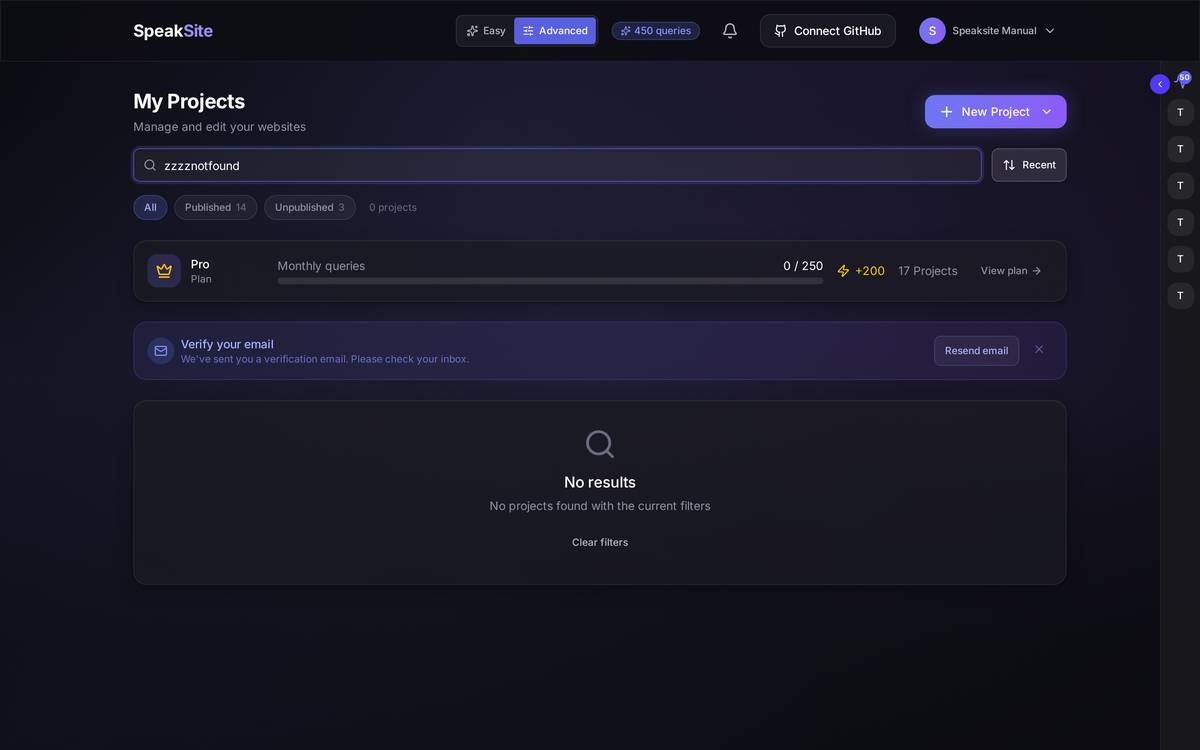
A concrete exampleI want to see which sites I've left half-finished: press Unpublished → the grid keeps only those → press the sort button and choose Date created to tackle the oldest ones first → when you're done, press All to see them all again.
2.6Starting a new project
What it's forChoosing between letting the AI build the whole site from your description, or starting with an empty project and doing it yourself.
How to get thereThe New Project button, top right.
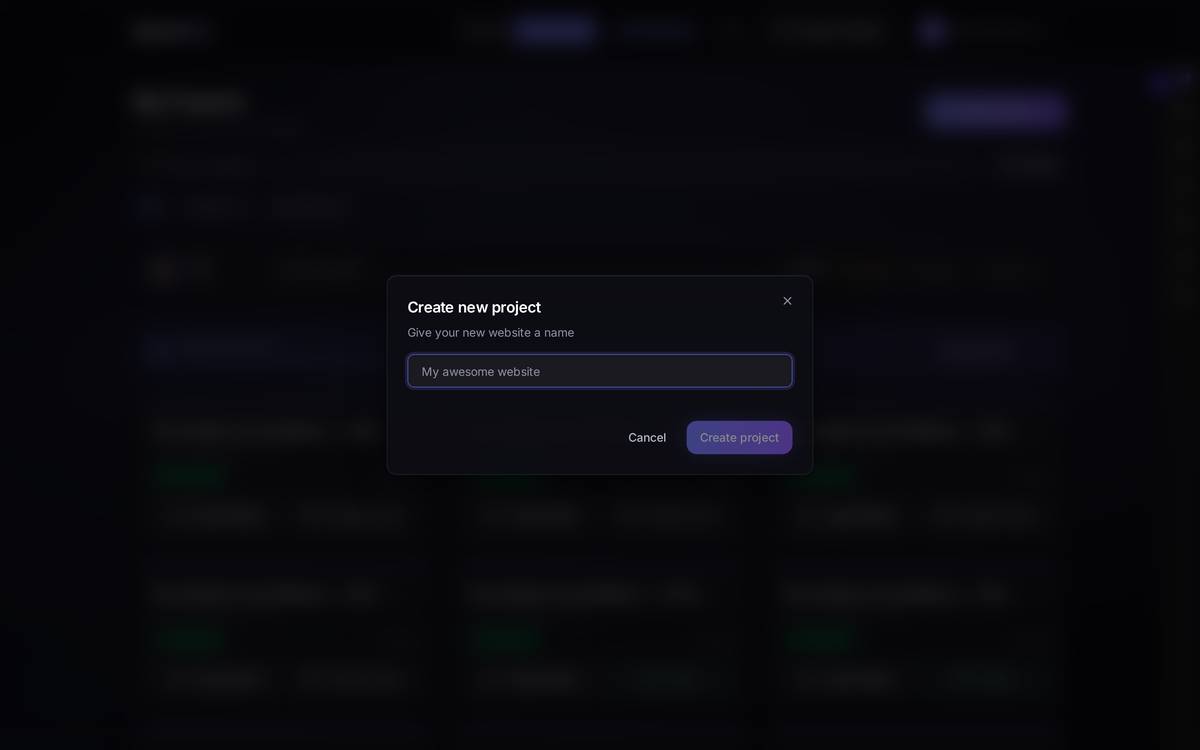
Watch out for… Starting empty "just to try it out" is the fastest way to end up with a blank project you don't know what to do with. If you want to see what Speaksite can do, use the wizard.
2.7The main event: from nothing to a generated site
The wizard is six steps. You can go back with Previous at any point, and nothing is created and no credit is spent until the very last button.
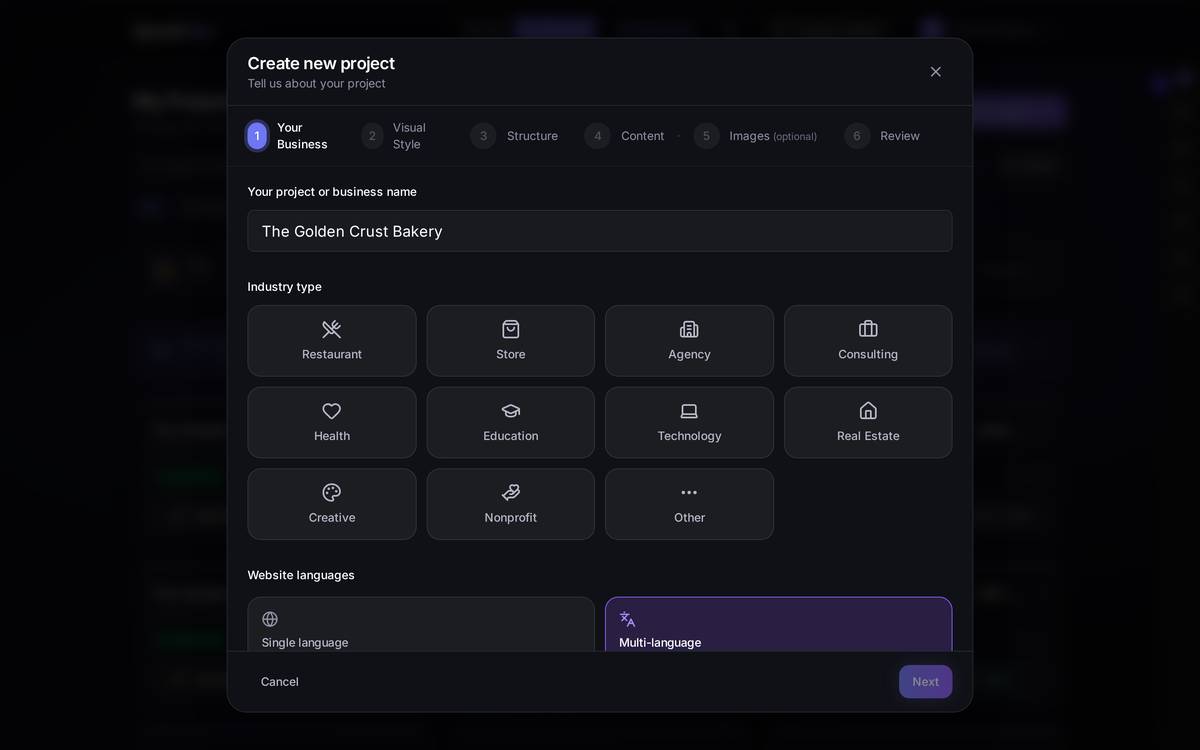
Step 1 — Tell us about your business
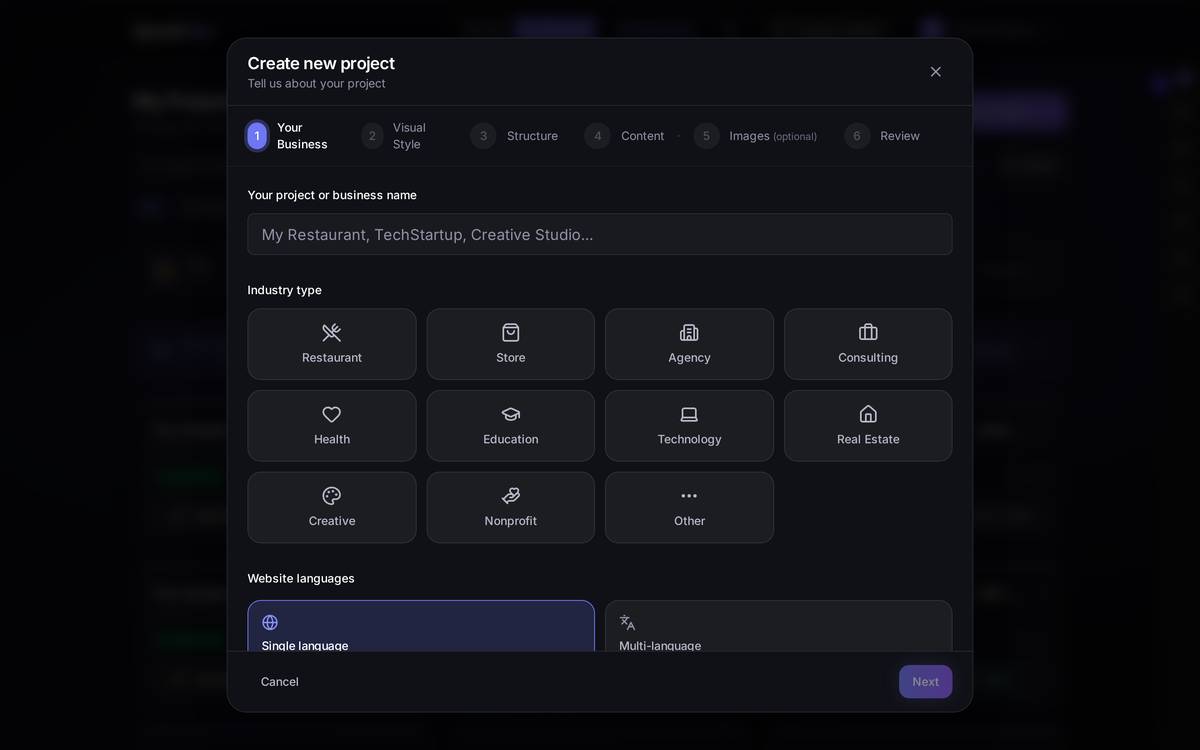
What's on screen. The business name (required), the industry type grid, the language or languages of the site and, further down, two optional fields that pay for themselves: a brief business description and an inspiration URL (a site you like; not your own domain). The better you fill these in, the less you'll have to fix afterwards.
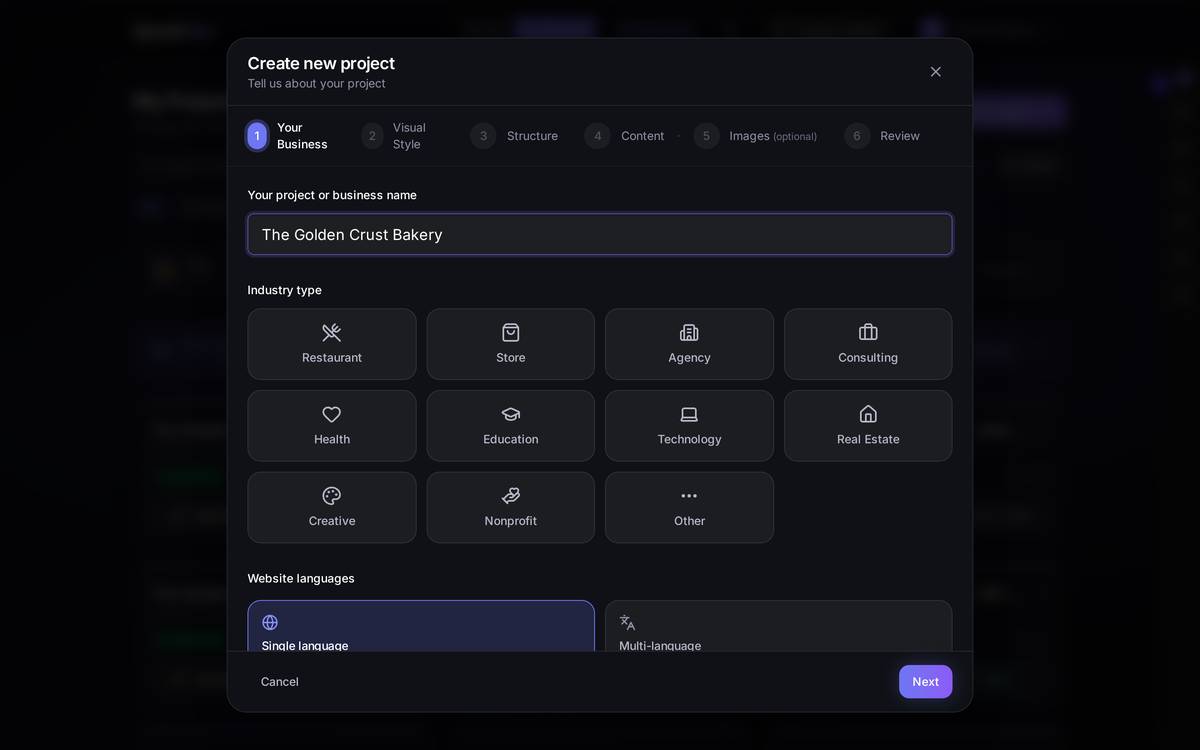
Watch out for… That's the wizard's most expensive mistake: if you don't touch the industry grid, Speaksite assumes "Other" and the AI builds the site without knowing what you do. Choosing costs nothing, and you can see the difference in the result. You can check which industry ended up selected in step 6, on the summary.
Step 2 — The style you like
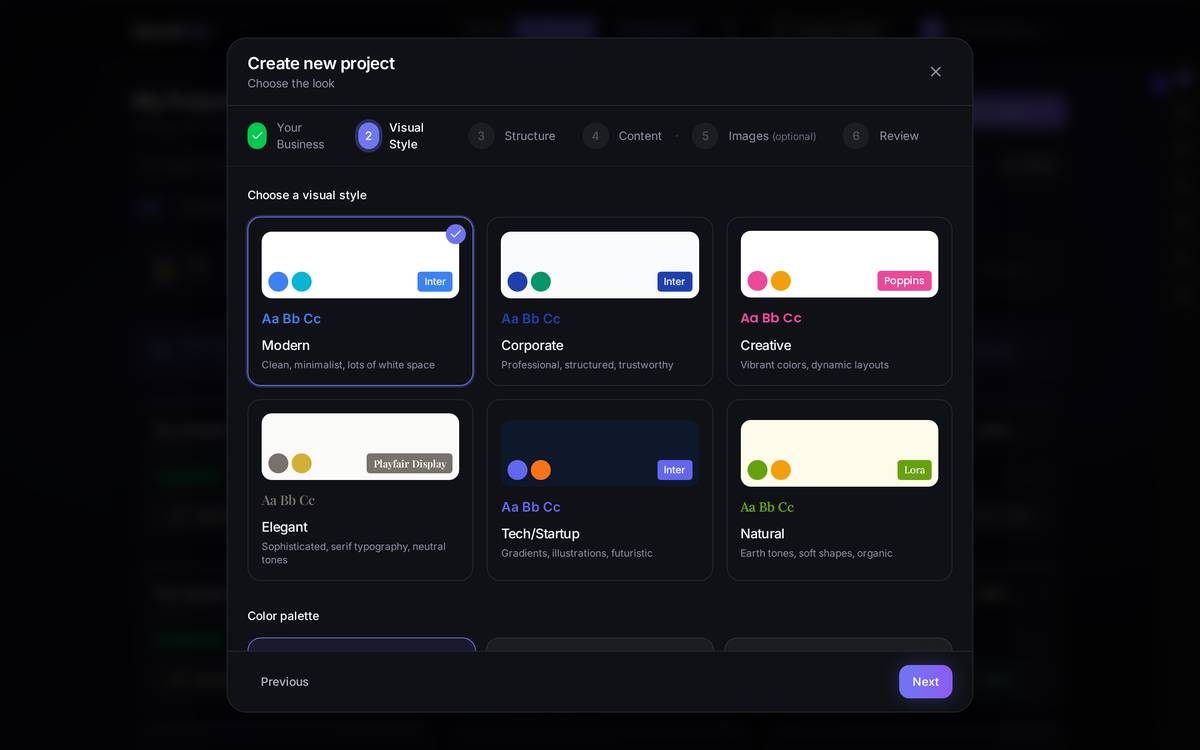
What's on screen. Pick the style closest to what you have in your head; it isn't a final decision, colours and fonts are changed afterwards in the editor.
Step 3 — What sections the site will have
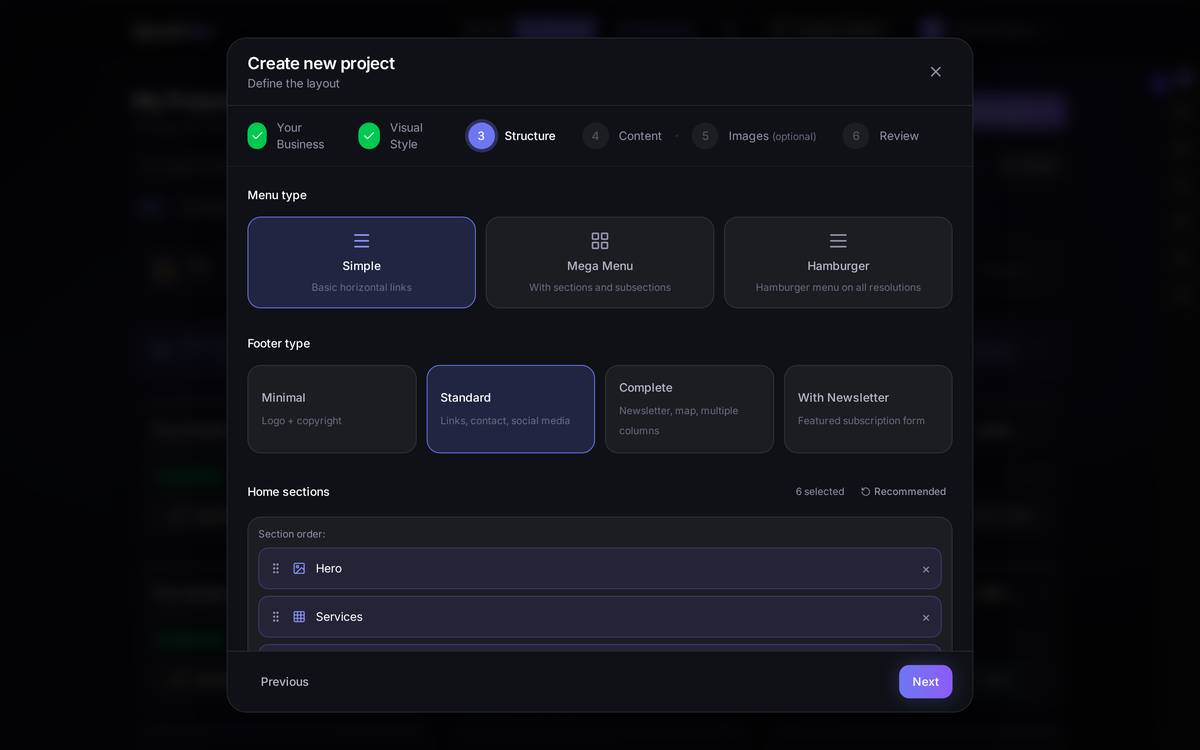
What's on screen. The sections come pre-ticked with a recommendation based on your industry. The order of the list is the order they'll appear in on the home page.
Step 4 — How you want your site to sound
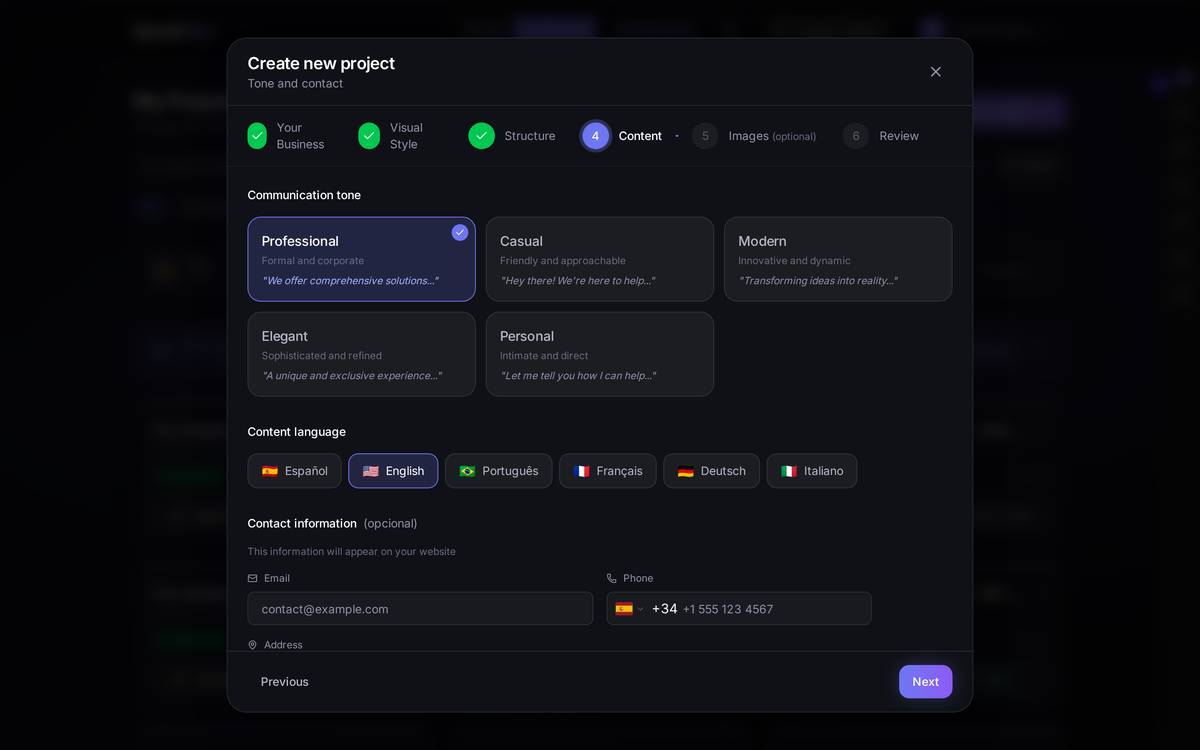
Watch out for… The email address, the phone number and the address you put here will be published on the site. They're optional: if you're not sure about them yet, leave them blank and add them later.
Step 5 — Photos and images
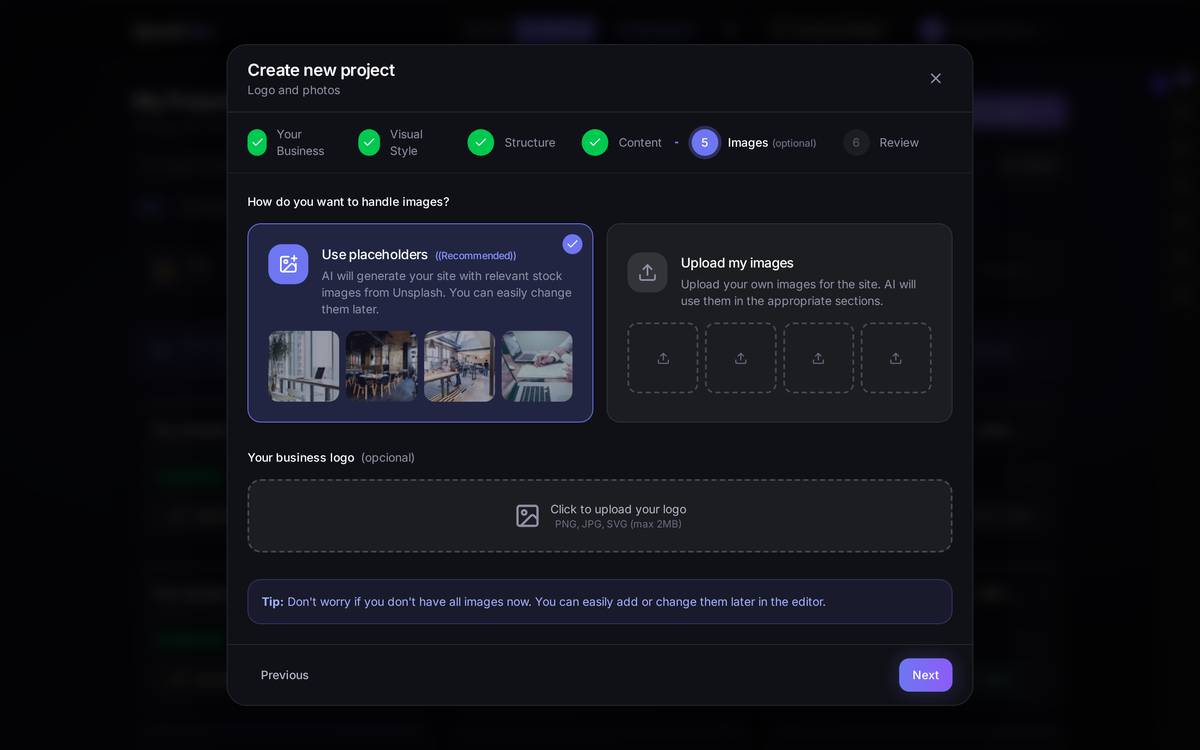
What's on screen. The recommended option puts in stock images so the site isn't born empty; they are swapped out afterwards, one by one, from the editor. This whole step is optional.
Step 6 — Review before generating
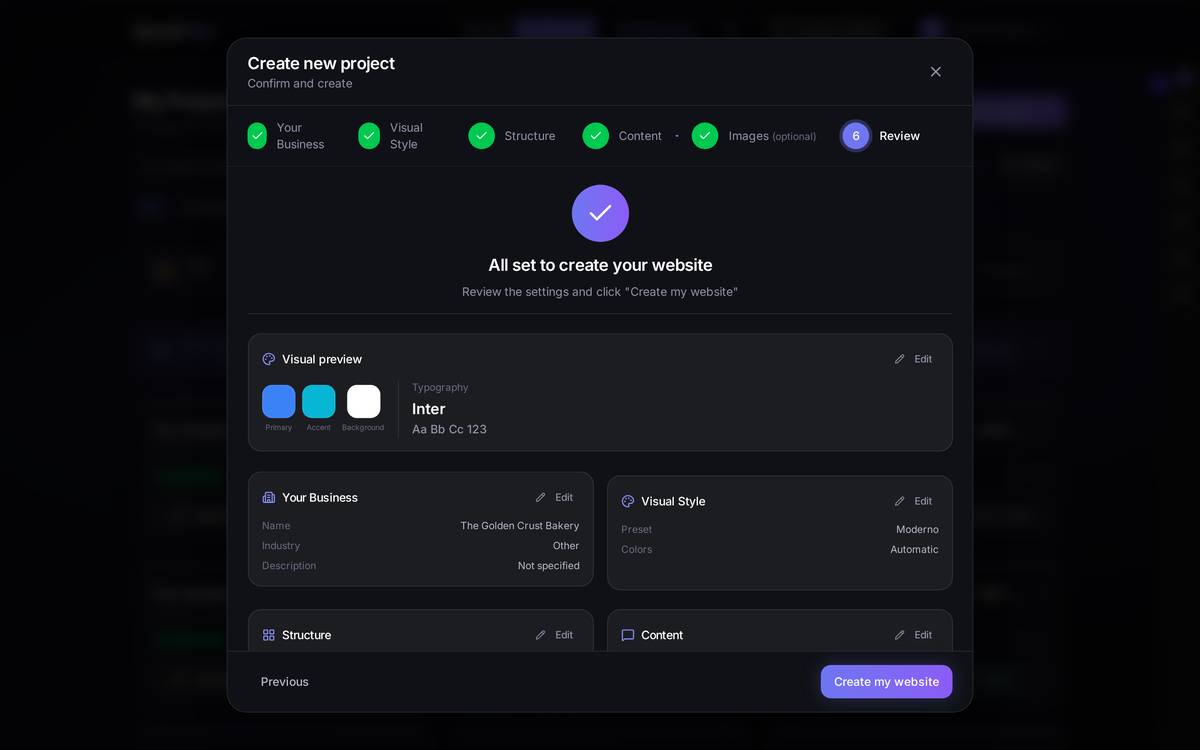
And now, the wait
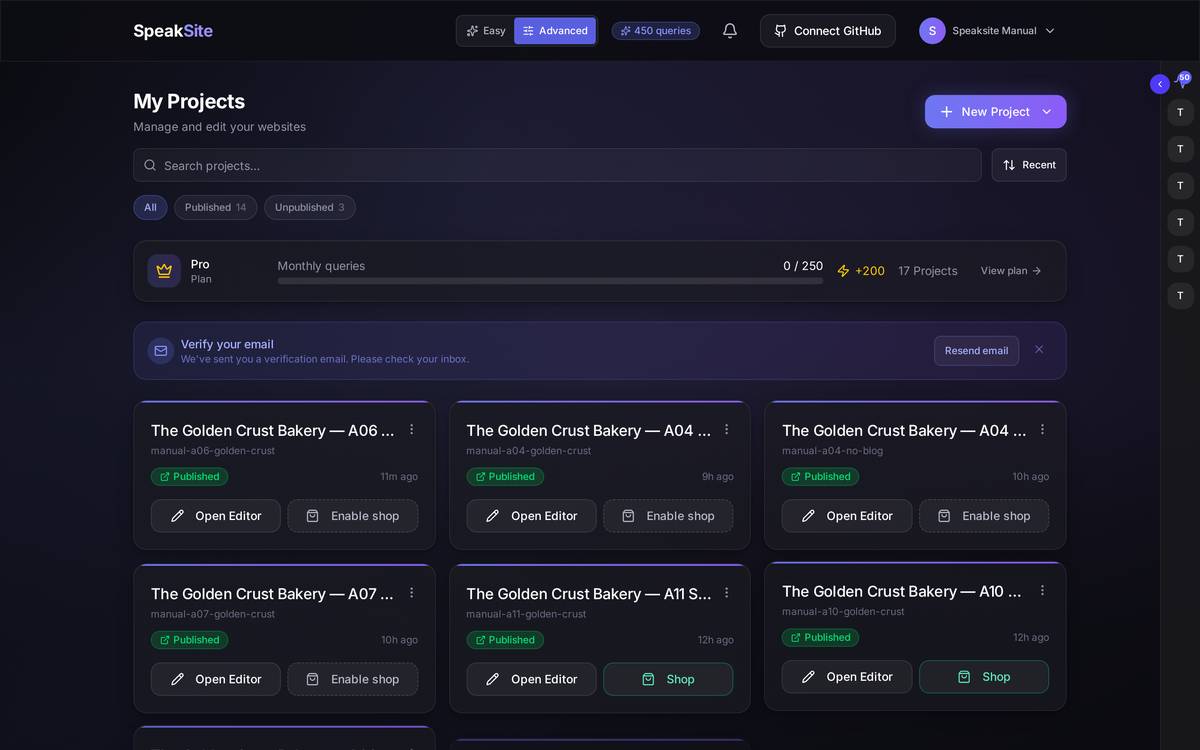
What's on screen. The important notice is at the bottom: you can close this window. Generation carries on at the server and you'll find the project on your dashboard. It takes several minutes — it's a whole website, not a template being filled in.
A concrete exampleI'm going to create my bakery's site: New Project → Create with wizard → I type "The Golden Crust Bakery", pick Restaurant and leave it in a single language → I choose the Natural style → I keep the recommended sections and move Services above About Us → Casual tone and I put in the shop's phone number → I keep the stock photos → in step 6 I check that it says "Restaurant" and not "Other" → Create my website → I close the window and go and do something else → a while later I come back to the dashboard and the card is already a normal card with Open Editor.
Watch out for…
- While a site is generating don't edit it from anywhere else: wait until the card stops saying Generating....
- If something goes wrong, the card turns into Generation failed with a Retry generation button. Retrying spends queries again.
- The Generating... card has no clock: if it's been sitting there a lot longer than a quarter of an hour, it isn't "taking a while", something has failed and it's worth telling support.
2.8Deleting a project
How to get thereThe card's three dots → Delete.
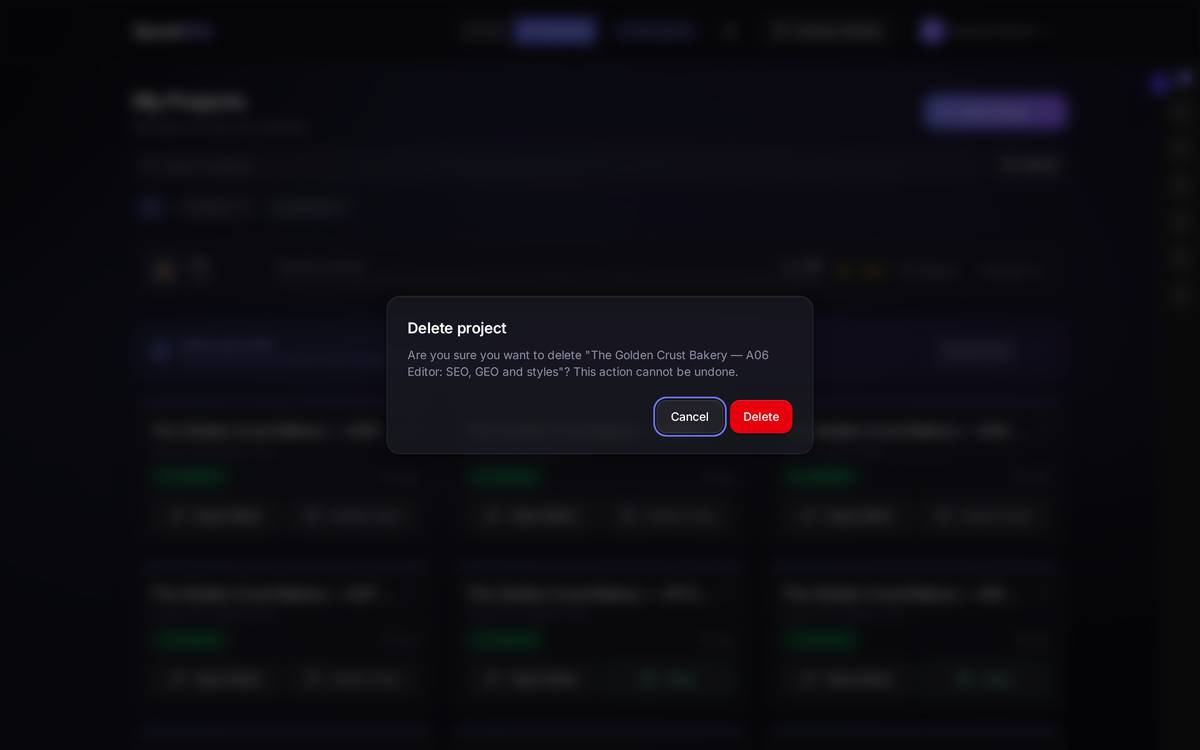
What's on screen. A warning with the project's name and two buttons. It does not ask you to type anything: one click on Delete and it's gone.
Watch out for… As the warning itself says, this action cannot be undone: it takes the pages, the text, the images you uploaded and that project's shop with it. If the site was published, it stops being on the internet. There is no bin to recover it from.
2.9What this manual can't show you here
The finished site, fresh out of the wizard. In the environment where these screenshots were taken the AI service isn't available, so the generation we actually launched stopped at stage 1 and there's no photo of the result. When yours finishes, the card simply stops saying Generating... and becomes a normal card like the ones in the first section, with Open Editor.