Chapter 8 of 11
Shop: catalogue
Products, categories, attributes and how to bring in a whole catalogue.
On this page
- 8.1Your products
- 8.2A product's page
- 8.3A full worked example: a loaf in two sizes, with its photo
- 8.4Categories
- 8.5Sizes, colours and other characteristics
- 8.6Bringing in a whole catalogue
- 8.7Getting the catalogue out
- 8.8Other catalogue screens
- 8.9The look of the shop: light or dark
- 8.10The things that break most often
This is where you build and look after what you sell: the products, their photos, their prices, their sizes or formats, the categories your customers use to find their way around, and the tools for pulling a whole catalogue in or out in one go.
All of these screens live inside Shop. To get there: open your project from the projects dashboard, open the editor and click the Shop button in the header. From that point on you move around using the menu on the left.
Easy and Advanced. There is a two-position switch at the top right. In Easy the shop menu only shows Overview, Design, Apps, Products, Orders and Settings. Categories, Attributes, Import, Export, Wishlists, Widgets and Structured data only appear in Advanced. If you are looking for one of those and cannot see it, it is not that you do not have it: it is that you are in Easy.
8.1Your products
What it's forIt is the list of everything you sell. From here you can see price, stock and whether each product is published, all at a glance, and open any of them for editing.
How to get thereShop → Products (visible in Easy mode too).
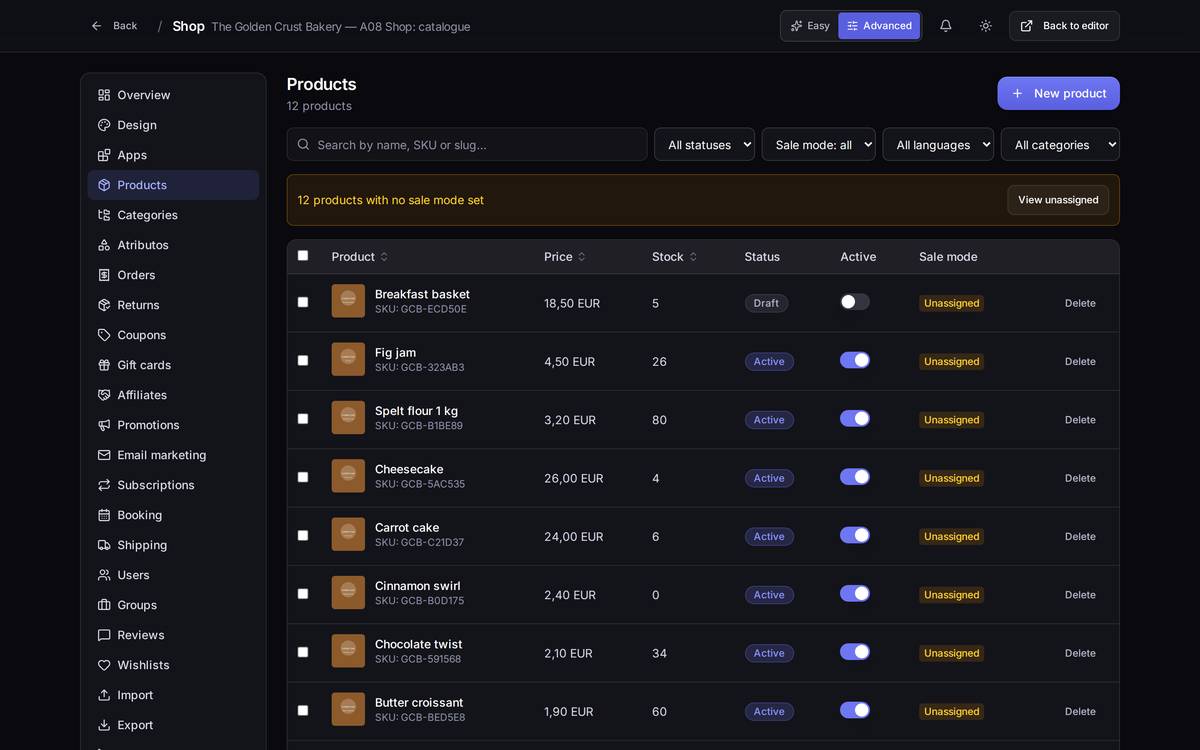
What's on screen
- Status (Active / Draft): only Active products show up in your shop. A Draft is a product you are still preparing and that nobody can see yet.
- The switch in the "Active" column: the shortcut for publishing or hiding a product without opening its form.
- Stock: the units you have left. A
0does not remove the product from the shop; it is shown as out of stock. - Sale mode: whether you sell by the unit, by the box or by weight. While it says "Unassigned" you will see the orange notice at the top. It does not stop you selling: it is a reminder to make the product page say clearly what the customer is taking home.
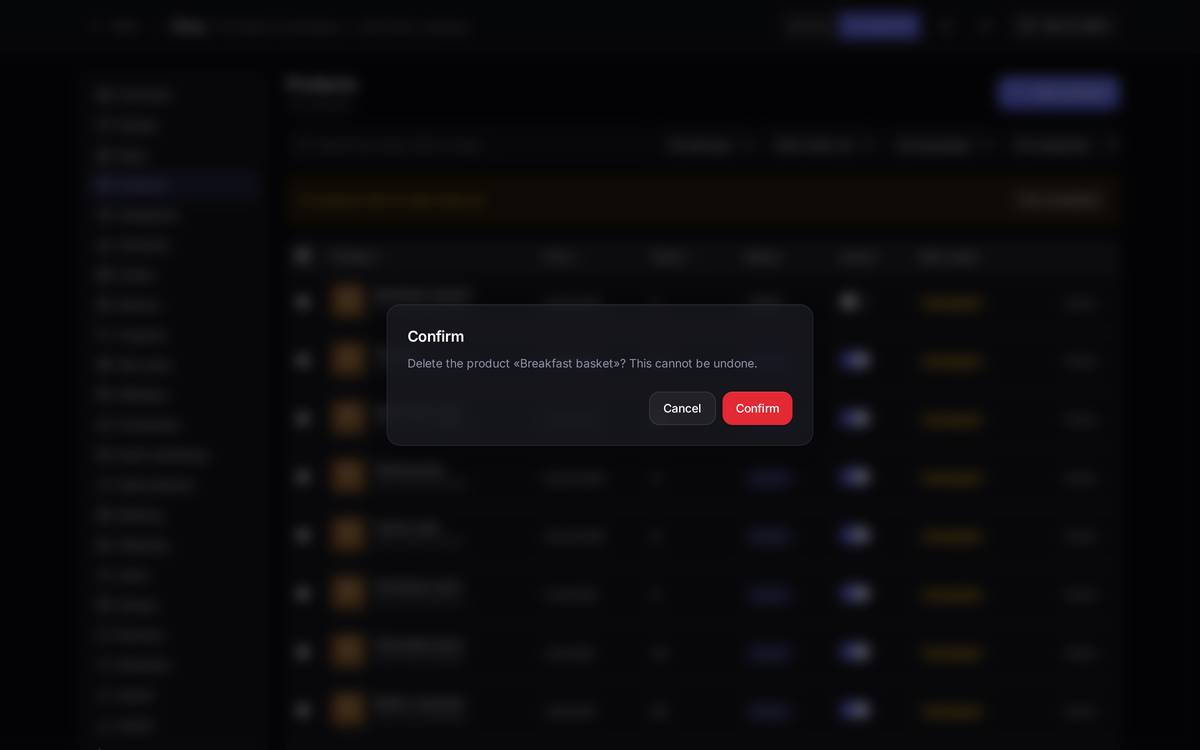
- Delete: removes the product. It asks for confirmation and there is no way back.
Searching through a lot of products
Once the catalogue grows, the search box and the filters are the only comfortable way to move around. The search box looks at the name, the reference (SKU) and the product's address.
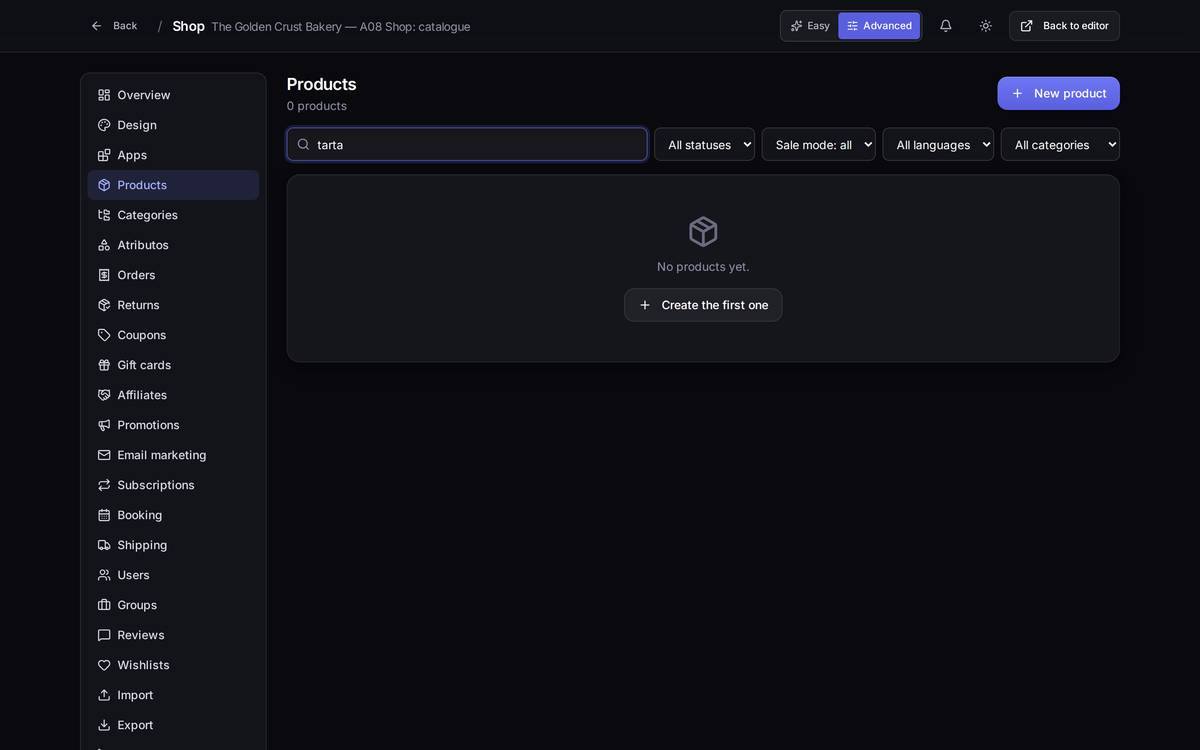
Watch out for… combining a category filter with a search that does not match it (searching for "cake" inside "Breads"). Nothing comes back and it looks as though the products have vanished. If the list comes up empty, set it back to "All categories" before you panic.
Changing many products at once
Tick the checkbox in the table header and a bar of actions appears for everything you have selected.
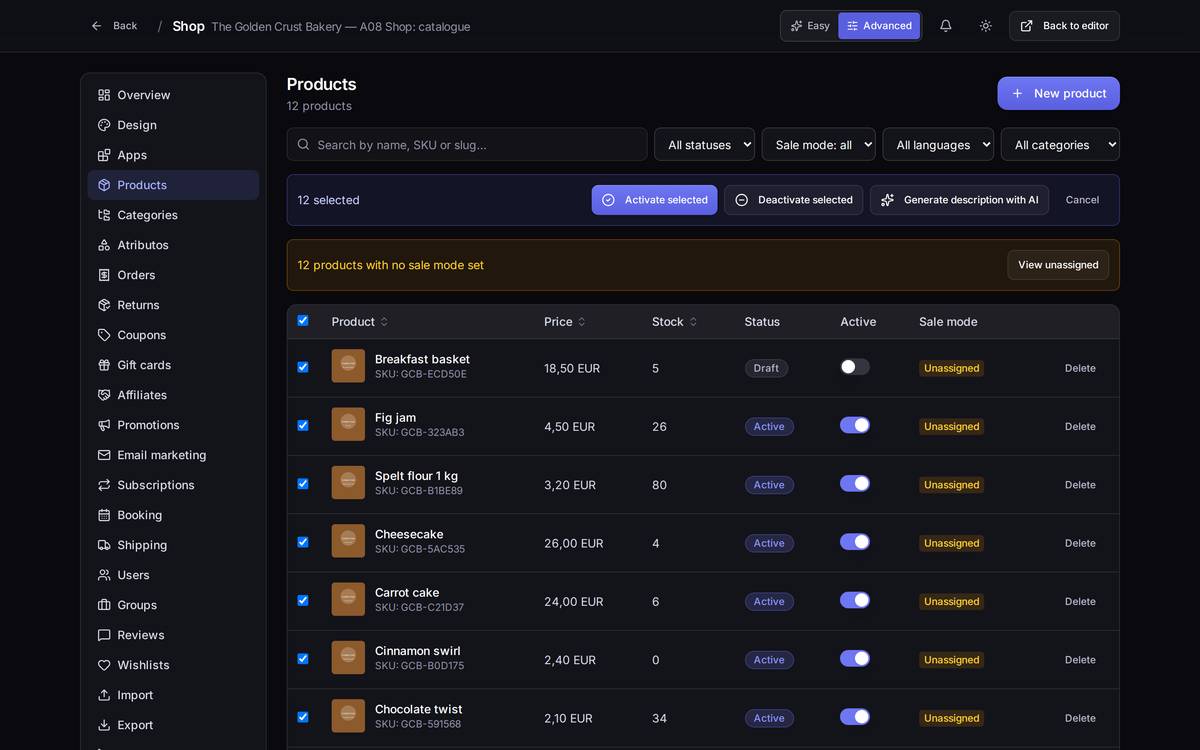
Generate SEO with AI does in bulk what you would do product by product on a product's page: it writes the title and the description that product goes out with on Google. Tick them, press the button, and the panel tells you it is generating the SEO (title and description for Google) for N products — it takes around half a minute per product and tells you when it is done, so you can carry on working meanwhile.
Selecting more than you can see on screen. Ticking the box in the header only ticks the products on the current page. If you have a filter on (a category, "no image", a language…) and you want to apply SEO or descriptions to everything that matches that filter, not just the visible page, a "select the N in the filter" link appears next to the counter of selected items: click it and you go from having one page ticked to having the whole catalogue that matches the filter ticked.
Watch out for… "Deactivate selected" with everything ticked: one click and your shop has not a single product for sale. It is just as quick to fix (activate them again), but in the meantime your shop is empty as far as the public is concerned.
8.2A product's page
What it's forIt is where everything known about a product lives: what it is called, what it costs, how many units you have, which photo shows it off and which categories it appears in.
How to get thereShop → Products → New product, or click on the row of a product that already exists.
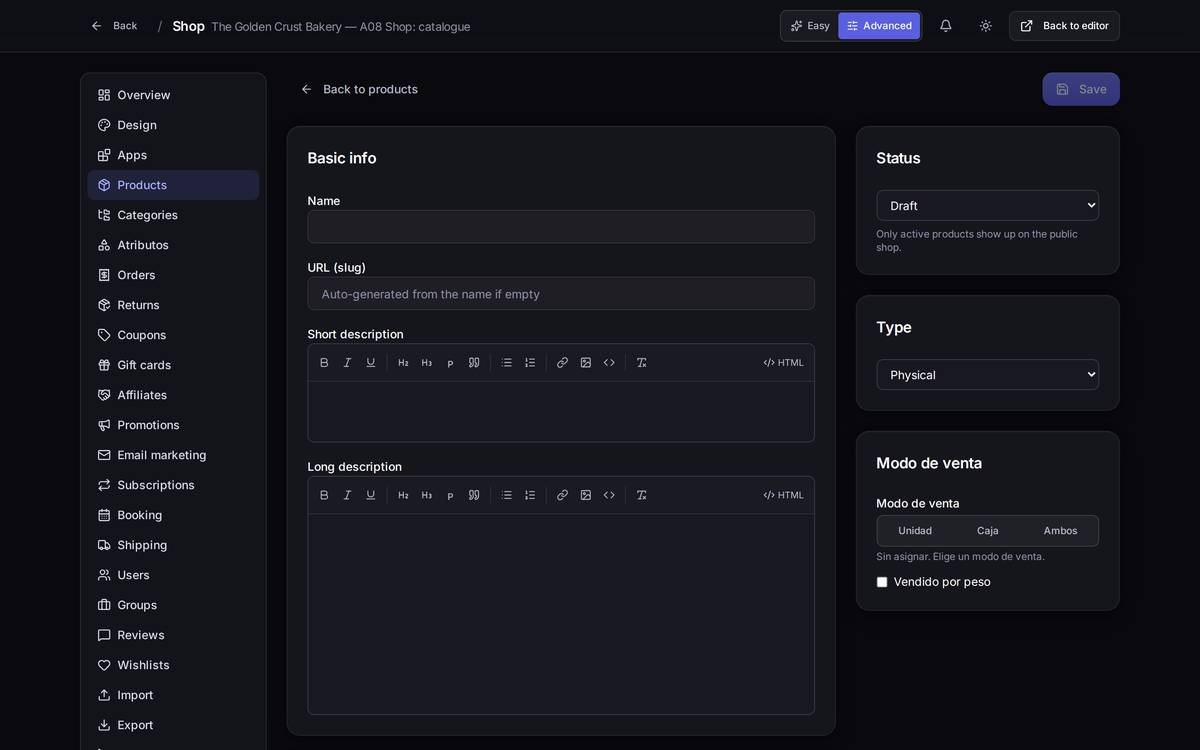
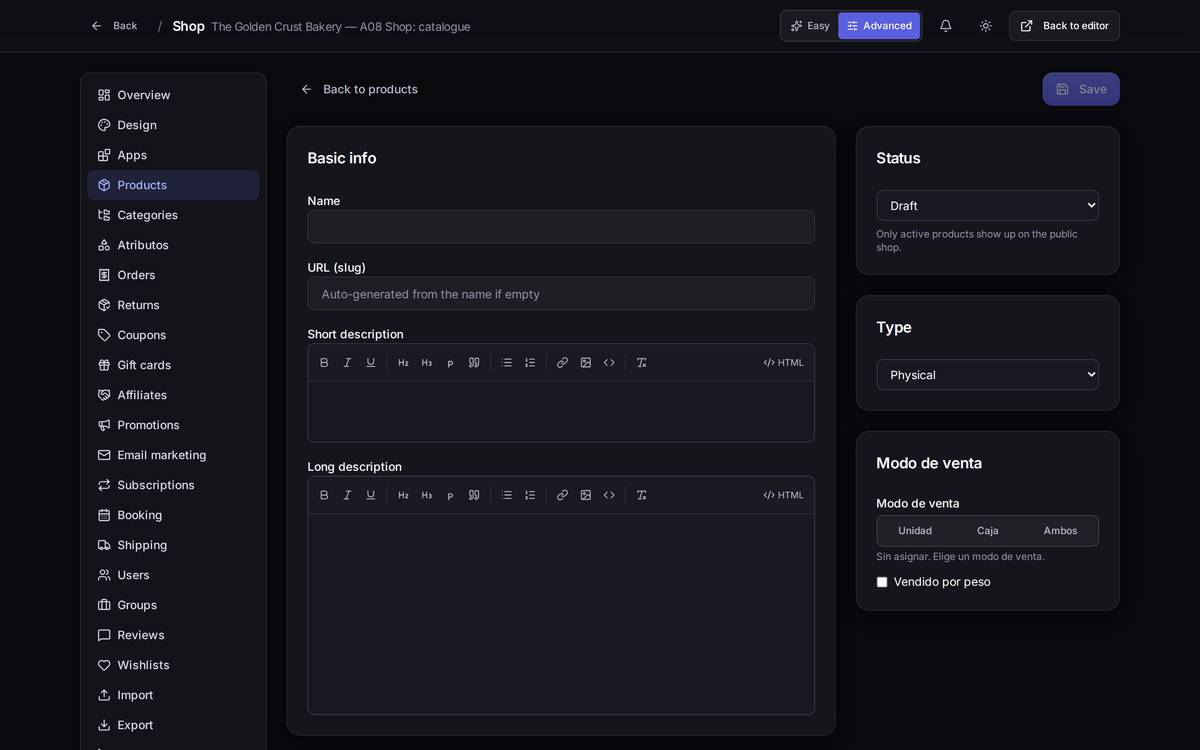
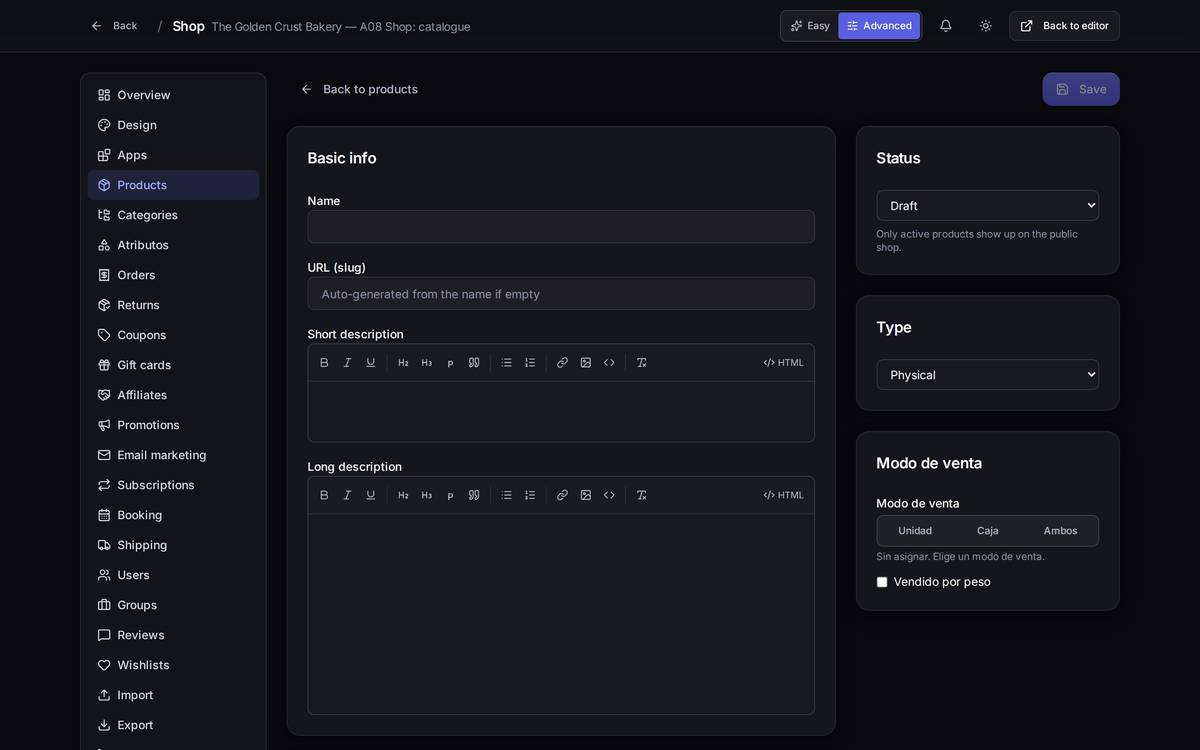
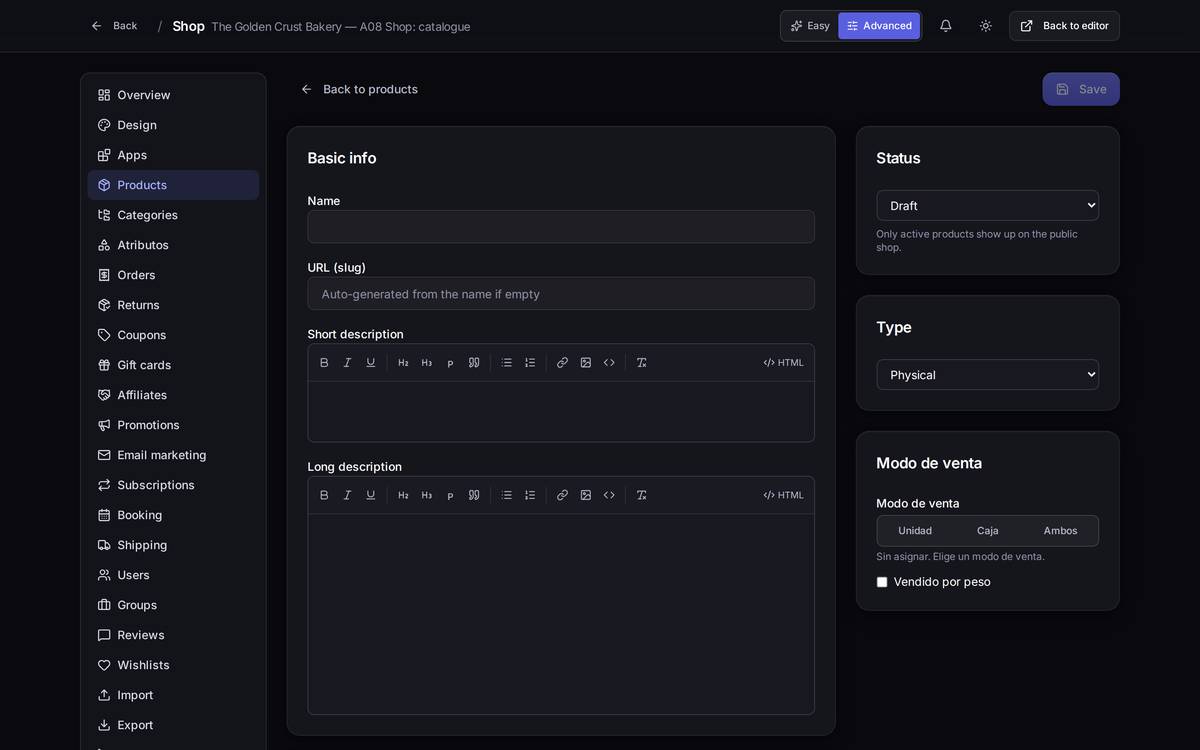
What's on screen. The page is long; these are the parts you will genuinely use:
- Name: the only compulsory field.
- URL (slug): the product's address in your shop. Leave it empty and it is derived from the name.
- Short description and long description: these are formatted fields (bold, lists, links). The short one is what goes with the product in the listings; the long one belongs on its page.
- Price and Compare-at price: the second is optional and is there to show a reduction: it is printed struck through next to the real price.
- SKU: your internal reference. Nothing bad happens if you leave it empty, but it is what saves you once you have two hundred similar products.
- Stock available: leave it empty if you do not want to keep count of units.
- VAT (%): empty means "whatever the category or the shop's general rate says". You only fill it in if THAT product falls under a different rate.
- Status (right-hand column): Draft while you are preparing it, Active for it to be seen.
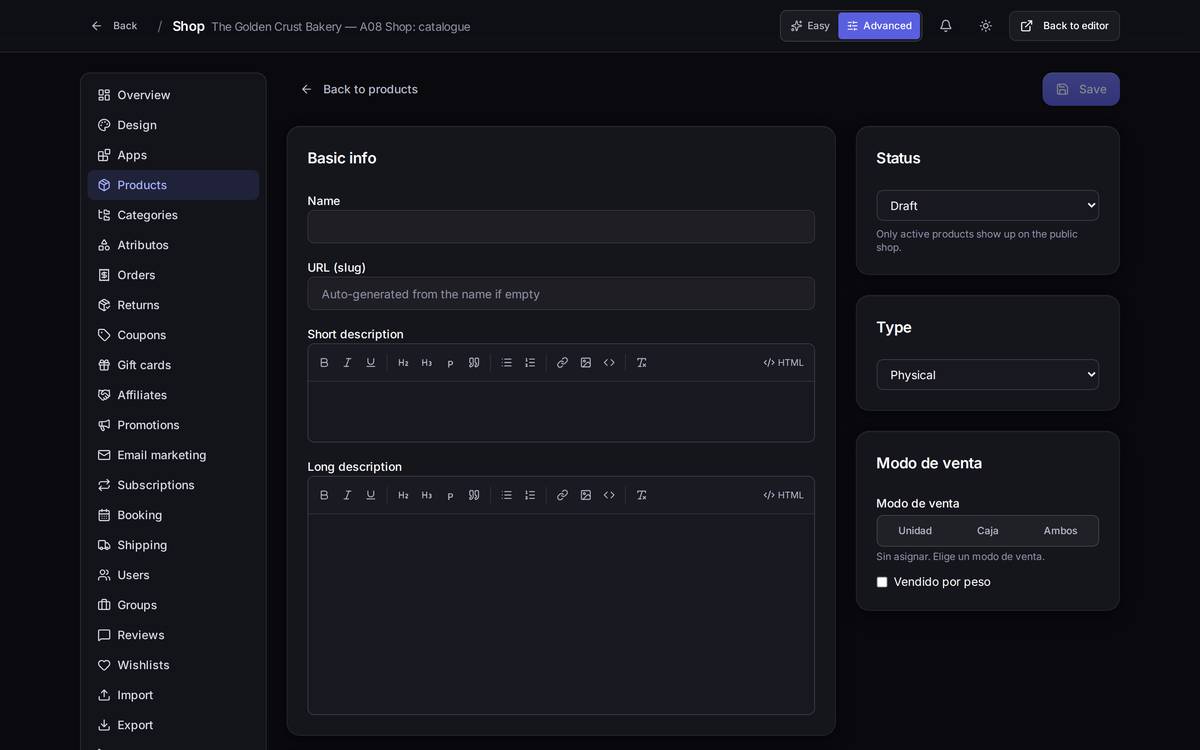
When the Save button is switched off
If the name is missing, Speaksite does not show you any kind of error message: it simply leaves the Save button switched off until you type one.
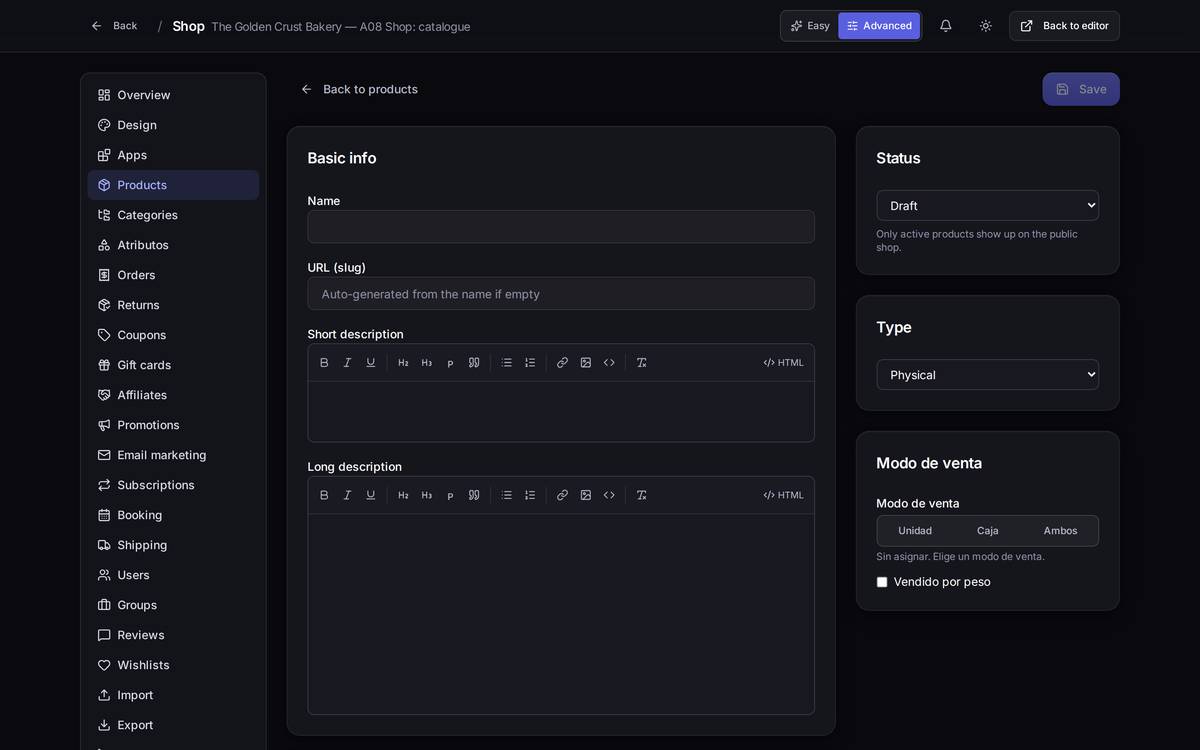
8.3A full worked example: a loaf in two sizes, with its photo
This is the whole run-through, exactly as it happens, for adding a product that is sold in two sizes.
1. Create the product. Shop → Products → New product. Name "Artisan rye loaf", a short description, price 4.80, reference GCB-RYE, stock 24.
2. Give it a photo. Scroll down to Primary image and click Upload image. Fill in the image alt text too ("A rye loaf cut in half"): it is what search engines read, and what people who cannot see the photo are given instead.
3. Set it to Active and save. In the right-hand column, change Status from Draft to Active and click Save.
4. Add the two sizes. Go back into the product (variants only appear once the product exists) and scroll down to Variants. Click Add axis, call it Size and type its values separated by commas: 500 g, 1 kg. Click Generate matrix and fill in the price and the stock for each one. Mark which one is the default. Click Save variants.
5. Look at it in your shop. Open the public shop and find the product.
Watch out for… the product does not appear in the shop the moment you create it, even if you set it to Active. It is a known bug: go back into the product and click Save a second time. That does it. If you have just created something and cannot see it in your shop, try this before anything else.
Watch out for… the photos you upload to a product are stored in your site's draft. For the customer to see them in the shop you have to publish the site. Prices, stock and names do show up immediately; images do not.
8.4Categories
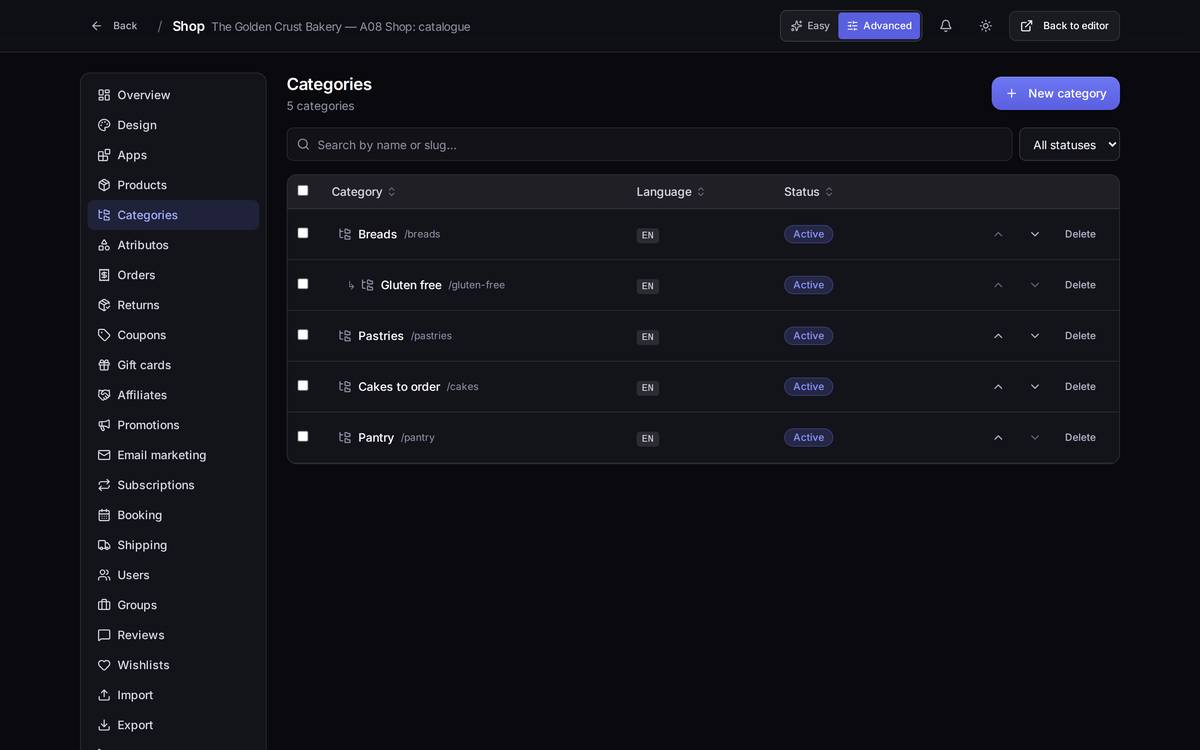
What it's forThey are the drawers your customers use to find their way around: "Breads", "Pastries", "Cakes to order". A product can sit in several of them.
How to get thereShop → Categories. Advanced mode only.
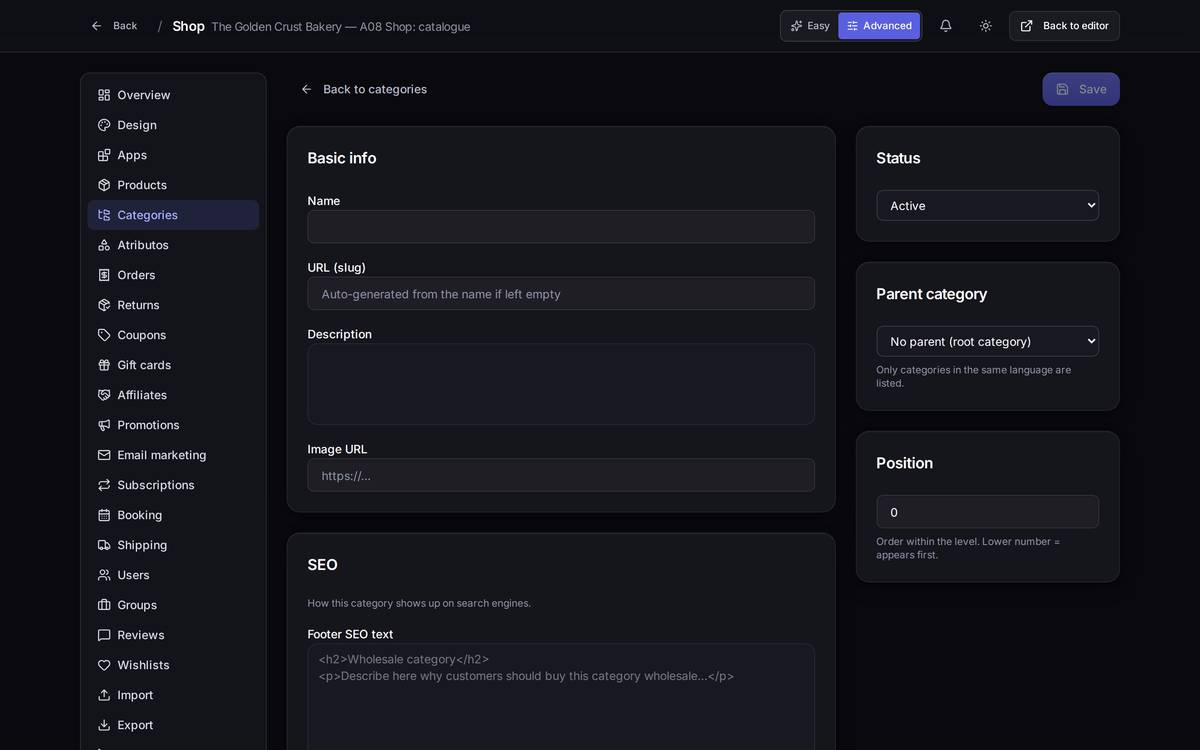
What's on screen
- Parent category: leave it empty and the category hangs off the top level. Pick another category and it becomes a subcategory of that one.
- Category VAT: if you fill it in, all of its products inherit it unless one of them brings its own. It is the convenient way of having "food at 4%" without repeating yourself product by product.
- SEO: the title and description the category shows up with on Google.
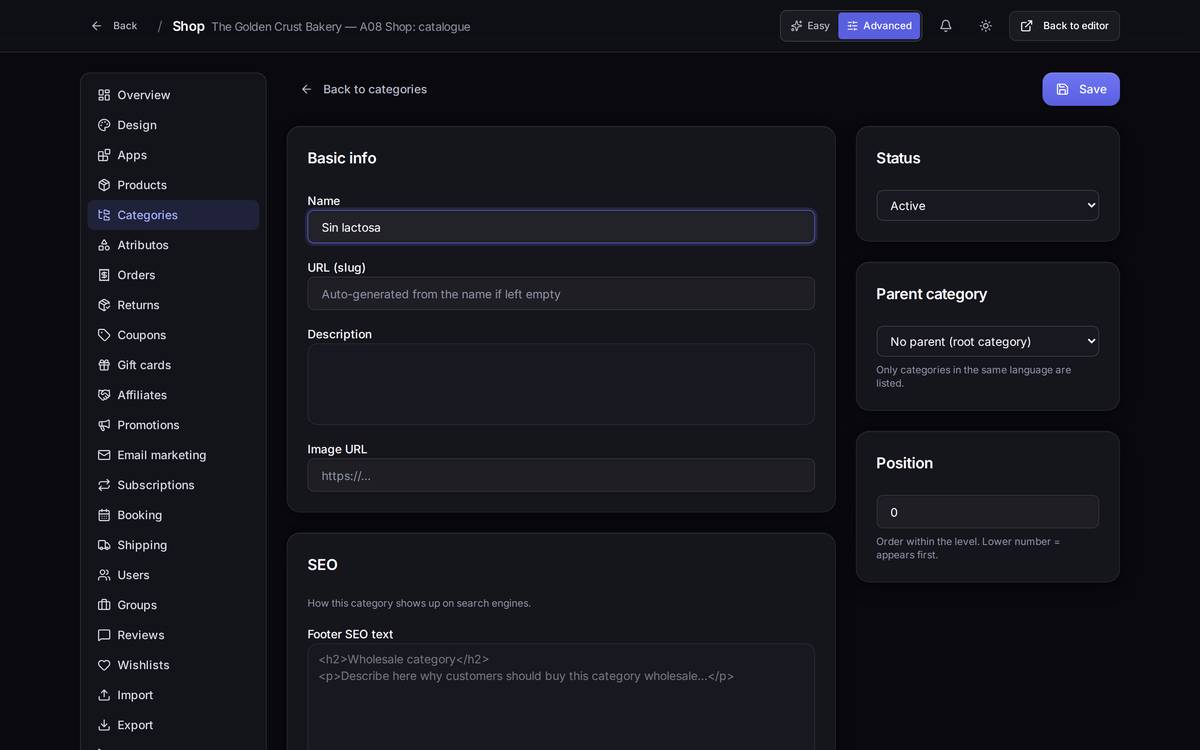
ExampleYou want to separate ordinary breads from the gluten-free ones: create "Gluten free", choose "Breads" as the parent category, save, and then go into each gluten-free bread and tick it into that category from the Categories section of its page.
Watch out for… deleting a category that has products in it. The products are not deleted, but they are left without that drawer and they disappear from the menu your customers were reaching them through.
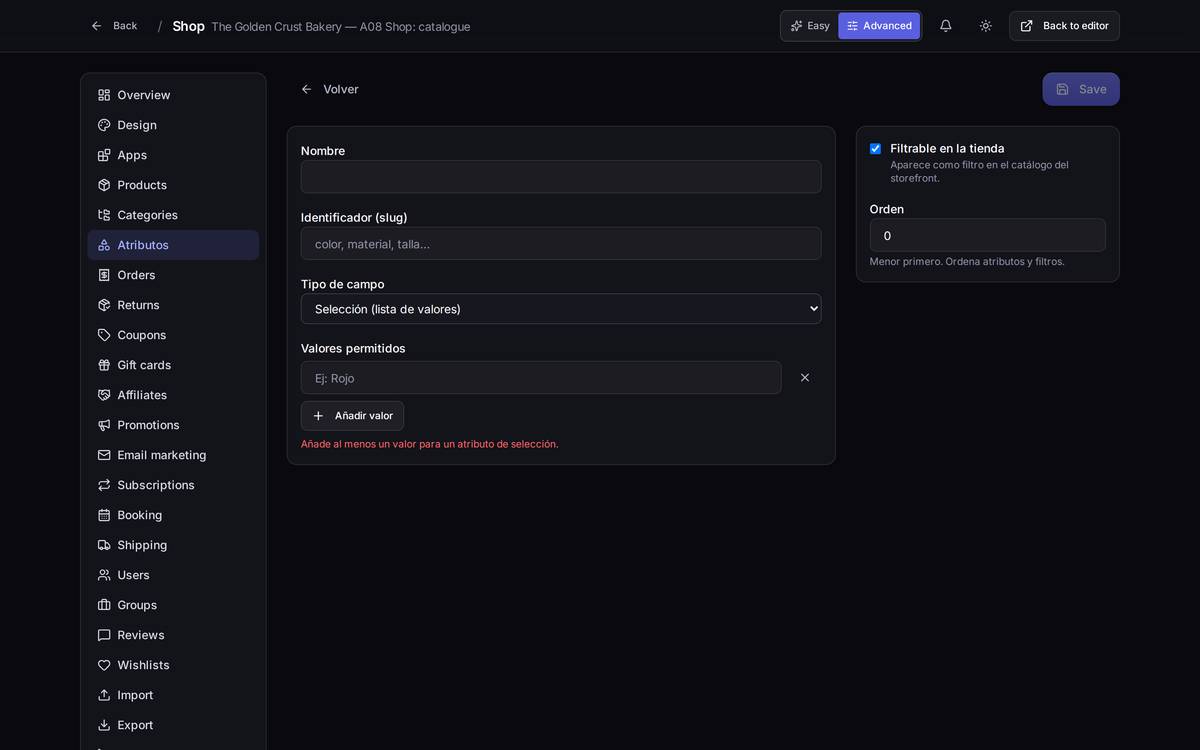
8.5Sizes, colours and other characteristics
What it's forThey are your products' technical details: "Size", "Type of flour", "Allergens". You fill in their value on each product and customers can filter by them in the shop.
How to get thereShop → Attributes. Advanced mode only.
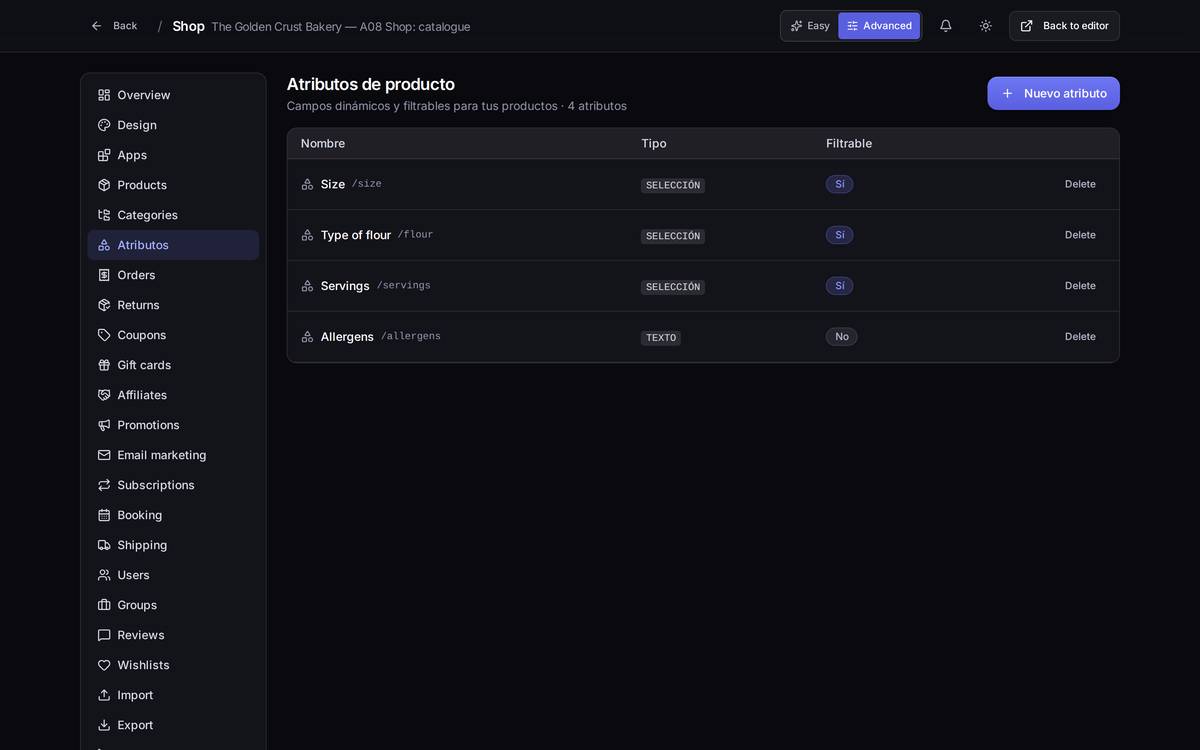
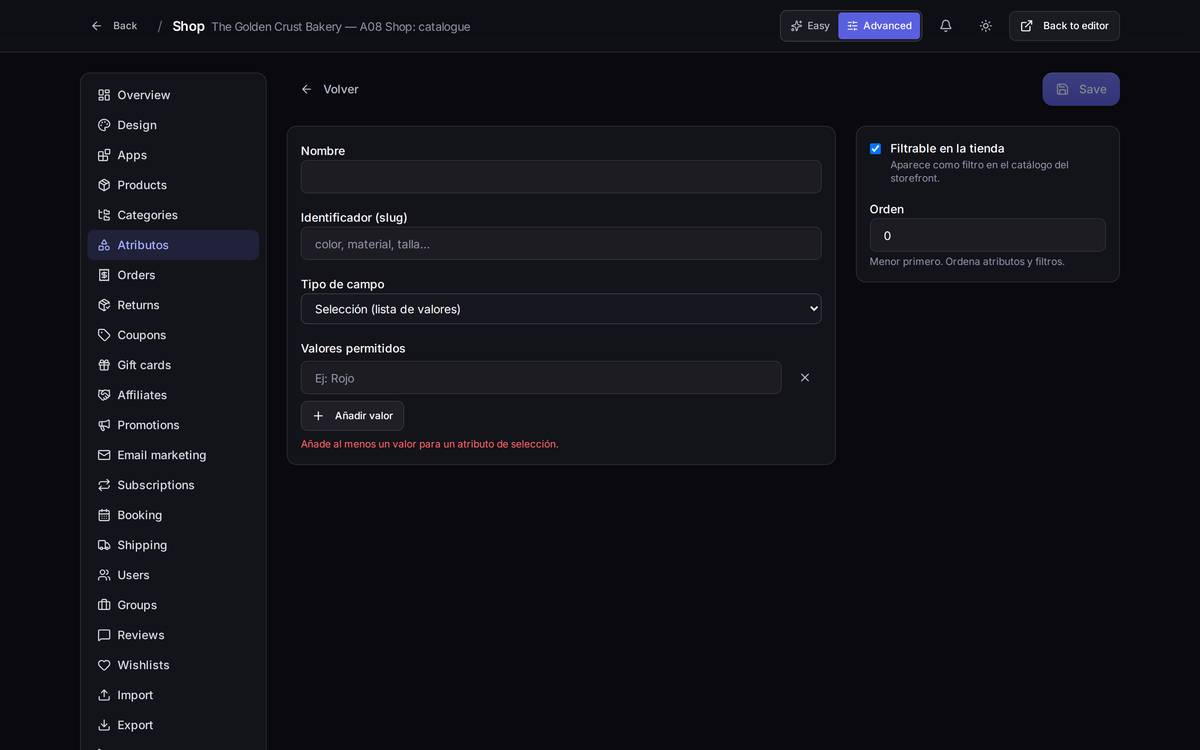
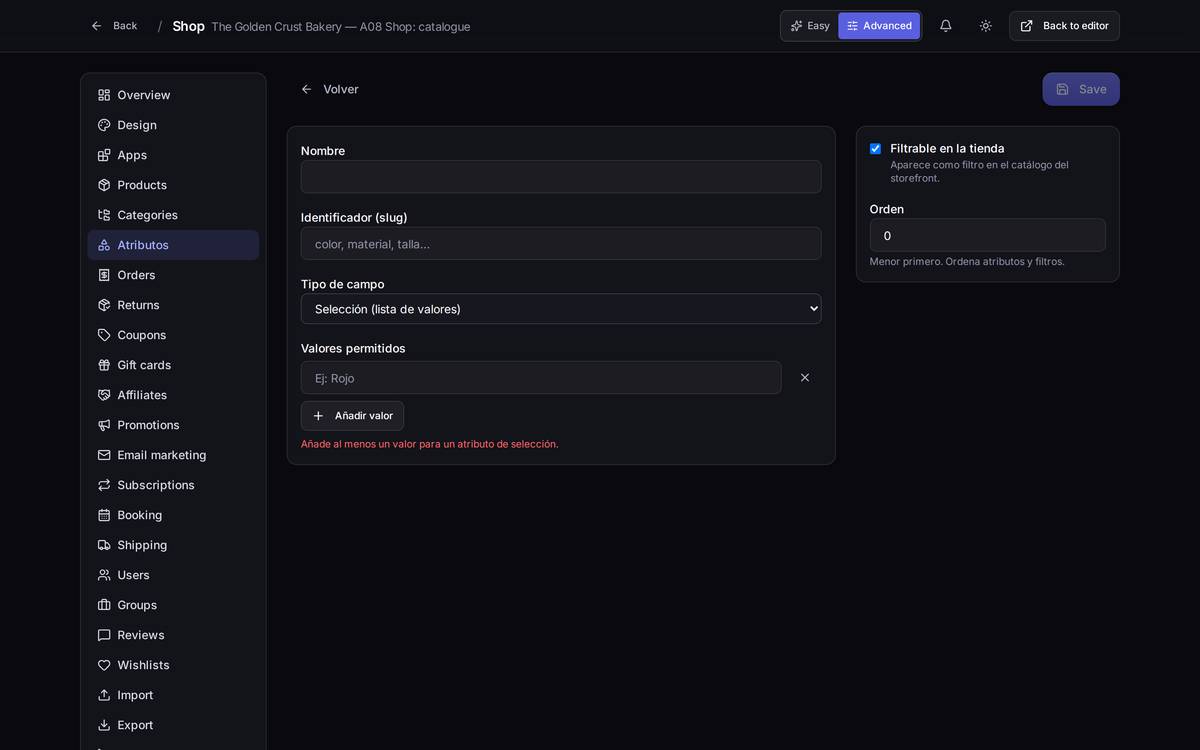
What's on screen
- Type:
Selectionwhen you want a closed list of values (Wheat / Rye / Spelt);Textwhen each product writes its own (the allergens, for example). - Filterable: tick it and it appears as a filter in the shop. It only makes sense on Selection ones: filtering by free text is no use to anybody.
Do not confuse characteristics with variants. This is the number one mix-up:
- A characteristic describes the product. "This flour is rye." It does not change the price or the stock.
- A variant is a different version of the same product, sold separately: the 500 g loaf and the 1 kg one have their own price and their own stock.
If two versions cost the same and share stock, it is a characteristic. If each one has its own price or its own inventory, it is a variant.
Watch out for… deleting a characteristic that products are already using: whatever value they had filled in is lost.
8.6Bringing in a whole catalogue
What it's forGetting a lot of products in at once from a spreadsheet, or from a WooCommerce shop you already run, instead of creating them one by one.
How to get thereShop → Import. Advanced mode only.
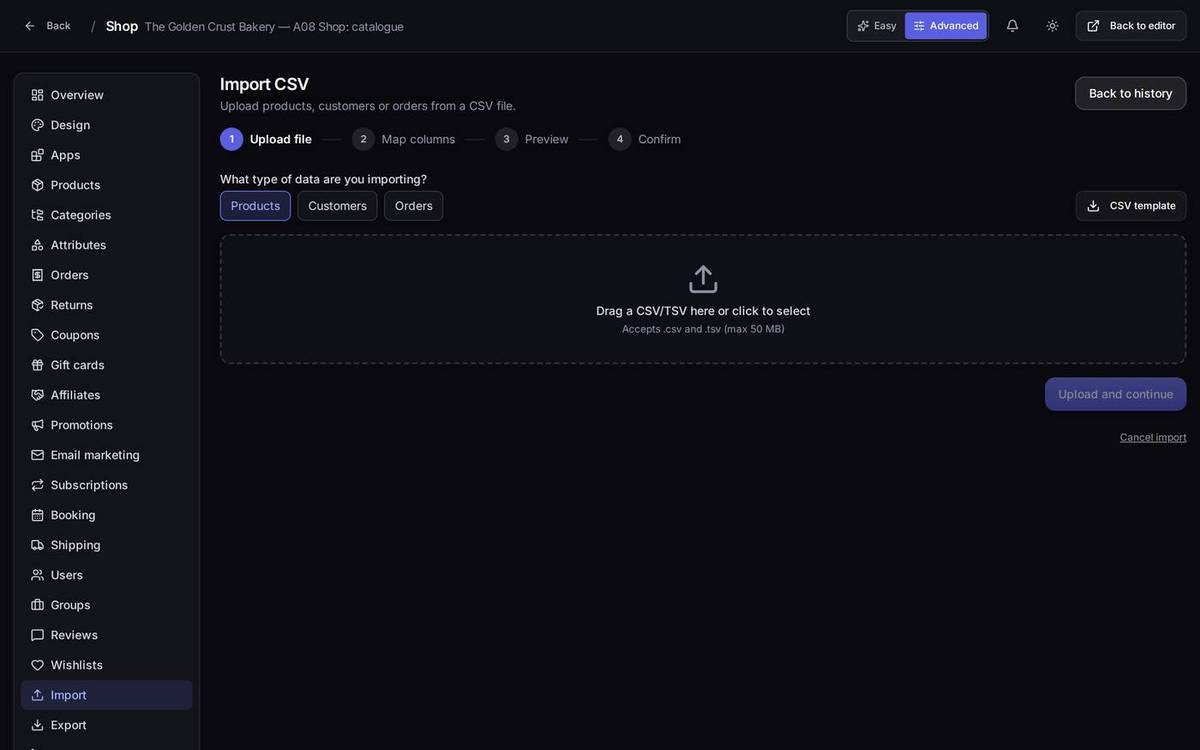
ExampleYour products are in Excel: go into Import, click the new import button, choose Products, download the CSV template, copy your data across respecting those columns, save the file as CSV and upload it. Before anything is written, Speaksite shows you a preview so that you can check the columns have landed where they were supposed to land.
From WooCommerce
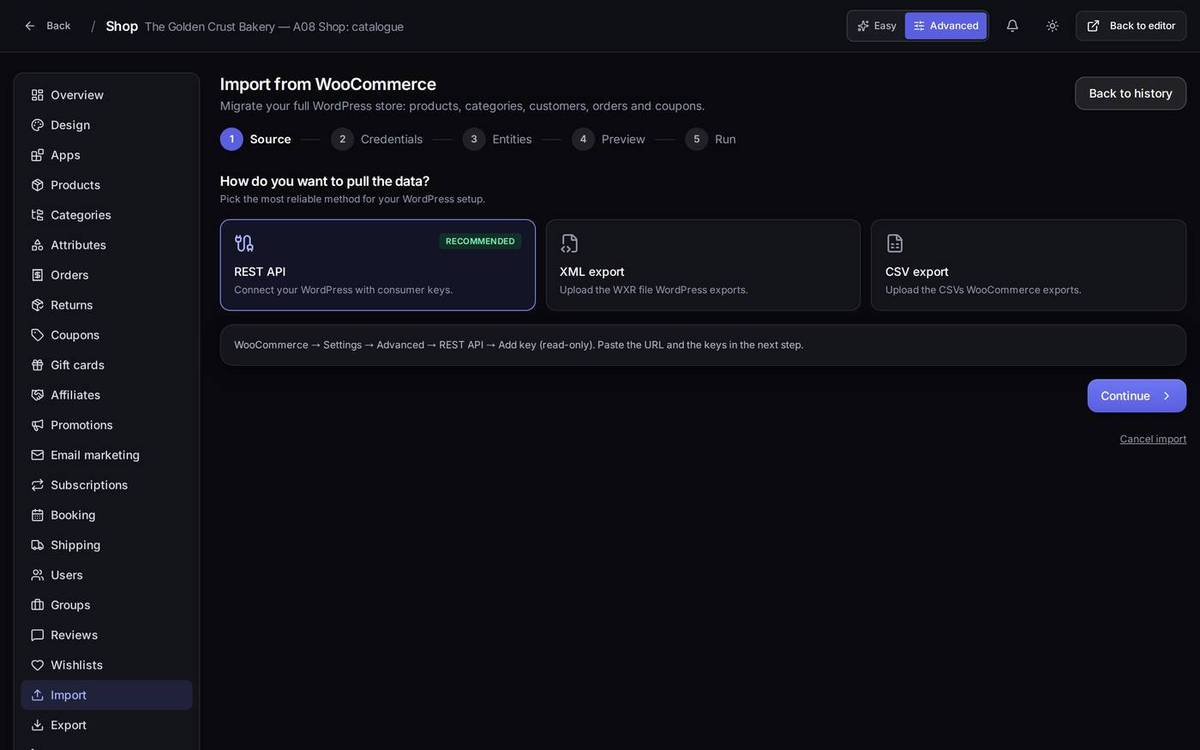
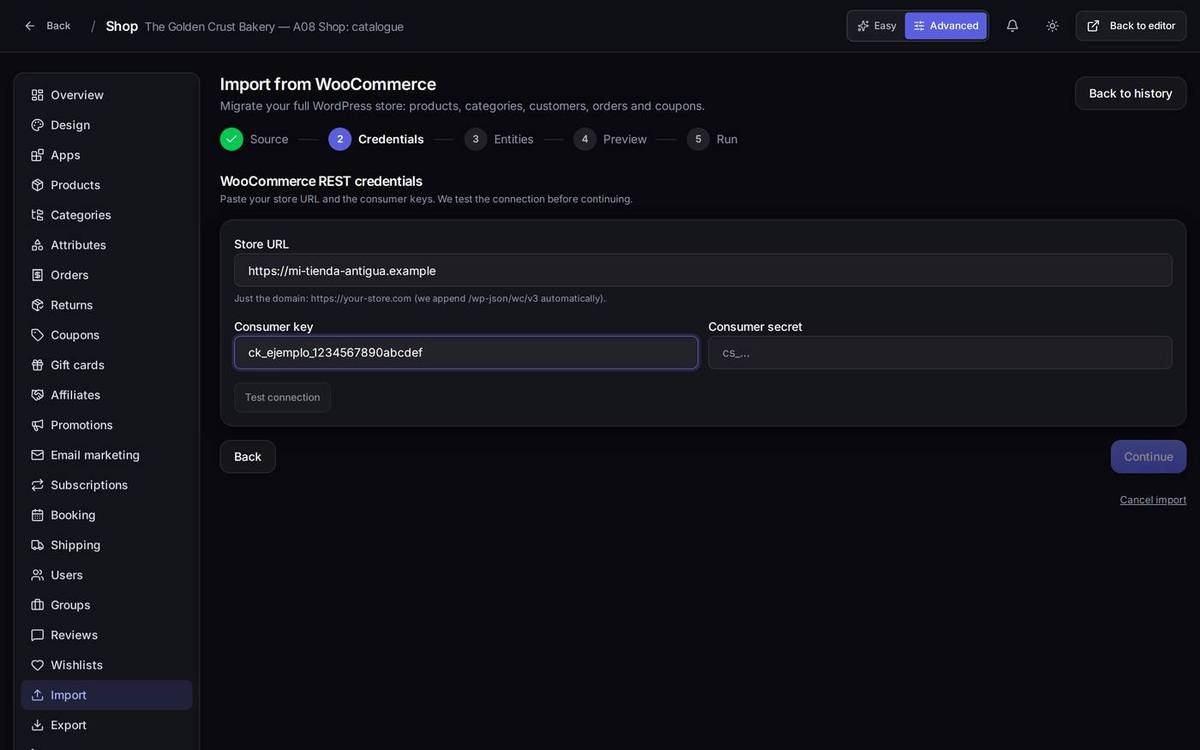
The import has five steps: where the data comes from, the keys, what you want to bring across (products, categories, customers, orders, coupons), a preview, and the run itself with its progress screen, which keeps count of what has been imported and what has failed.
The last three steps (choosing what you bring, the preview and the progress) only open when the connection to a real WooCommerce shop responds. They cannot be shown here without connecting a genuine shop, so this manual does not illustrate them with a photo.
Watch out for… importing the same file twice: you end up with the catalogue duplicated. Do a test run with three or four rows before you upload the thousand.
Watch out for… the WooCommerce keys. Give them read-only permissions: nothing more is needed to pull the data across, and that way a lost key cannot touch your old shop.
8.7Getting the catalogue out
What it's forDownloading your products, customers or orders as a CSV file that opens in Excel: to go through them at your leisure, to send to your accountant, or simply to keep a copy.
How to get thereShop → Export. Advanced mode only.
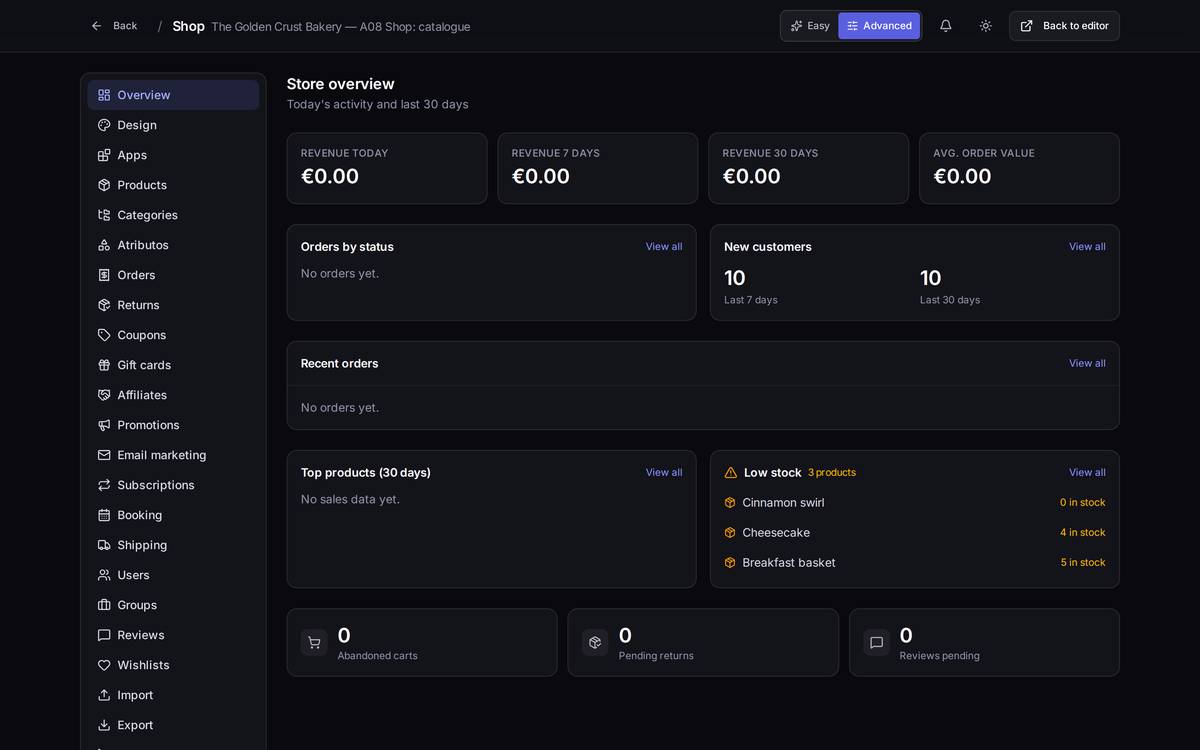
On the scheduled exports tab you can set up a download that repeats on its own (every week, every month) and arrives by email, without you having to remember.
8.8Other catalogue screens
Wishlists
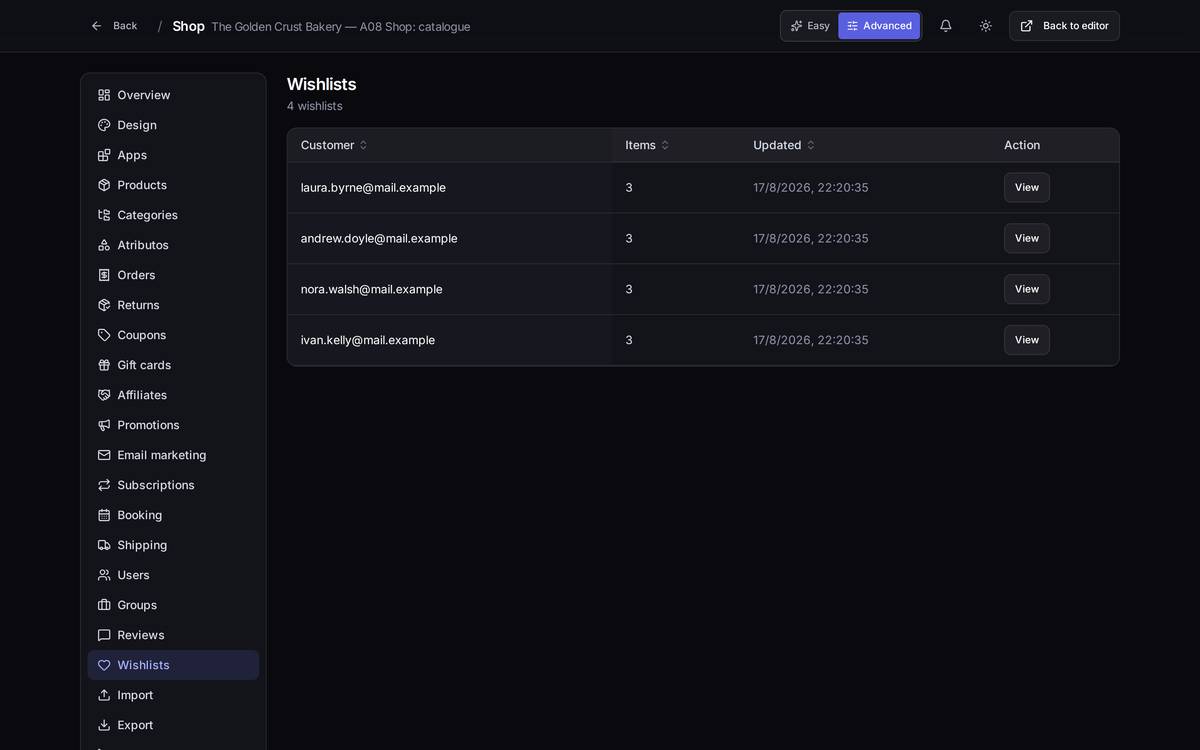
What your customers have saved for later. It tells you what people are looking at without having bought it yet: a good clue as to what to restock or what to put on offer.
How to get thereShop → Wishlists. Advanced mode only.
Blocks for your shop
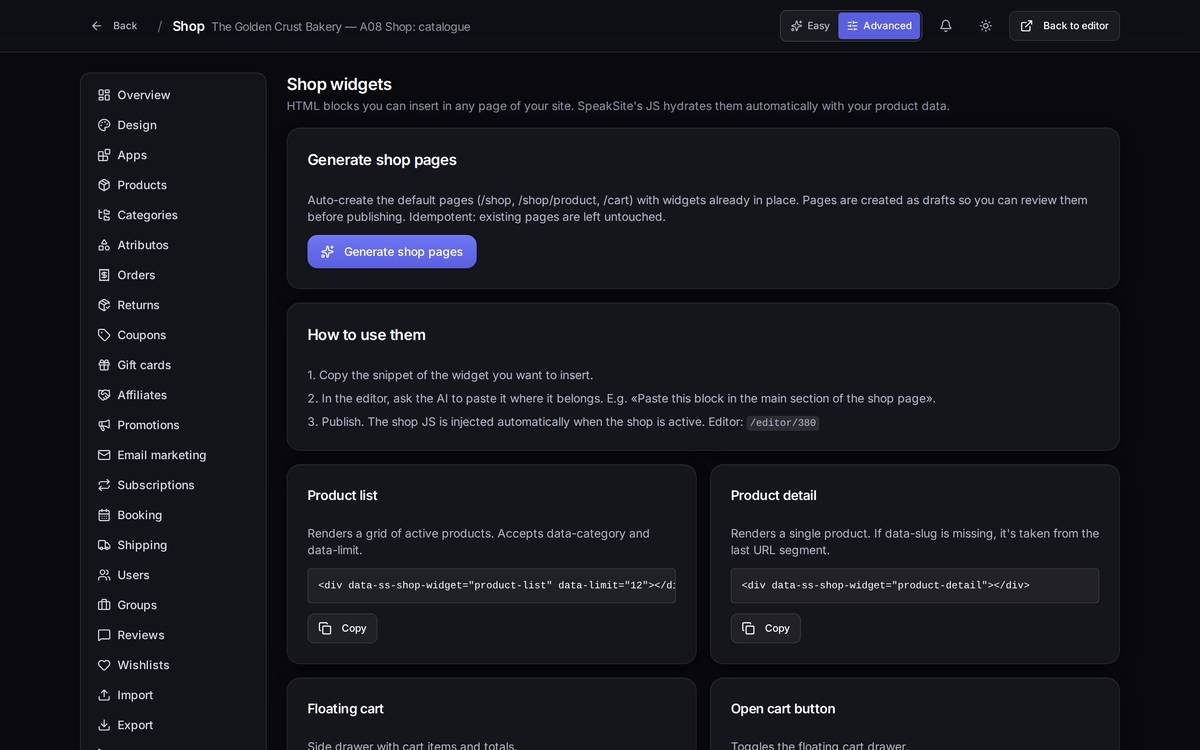
Pieces of shop that you can drop into any page of your site: featured products, new arrivals, a particular category.
How to get thereShop → Widgets. Advanced mode only.
Structured data
With the help of the AI, Speaksite prepares the invisible technical summary that Google reads off each product (the price, whether there is stock, the ratings). Done properly, it is what gets your product showing up on Google with its price and its stars.
How to get thereShop → Structured data. Advanced mode only.
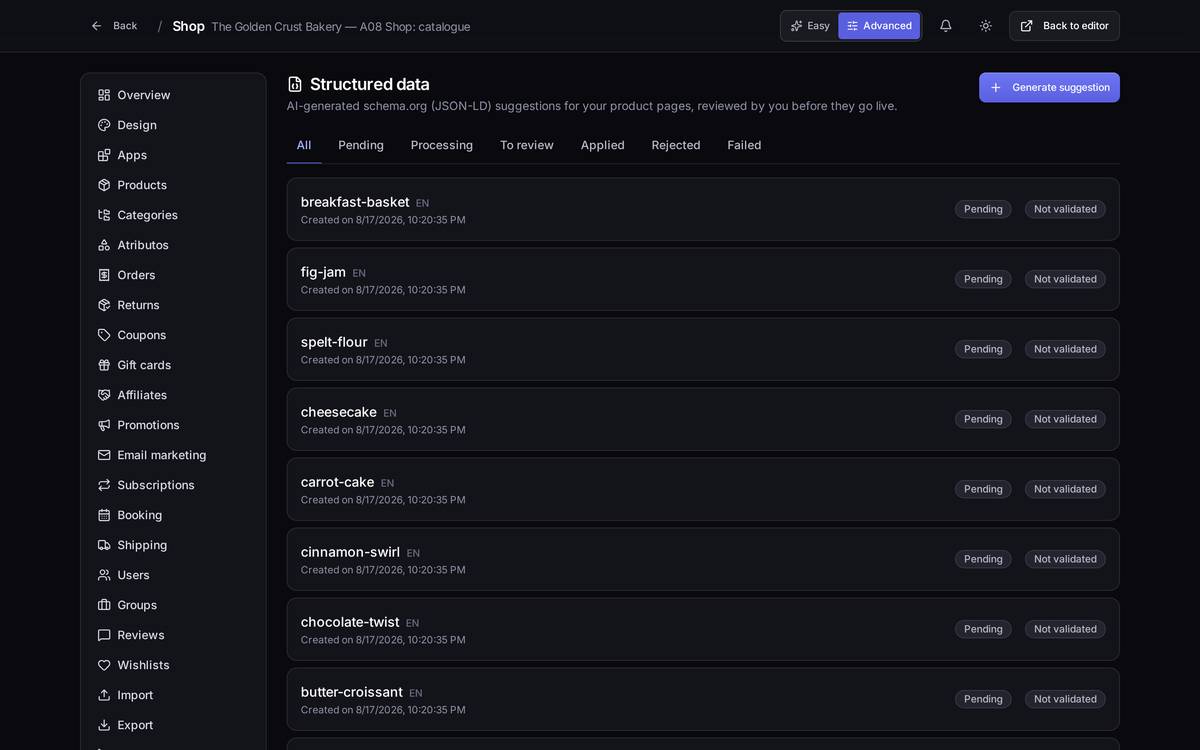
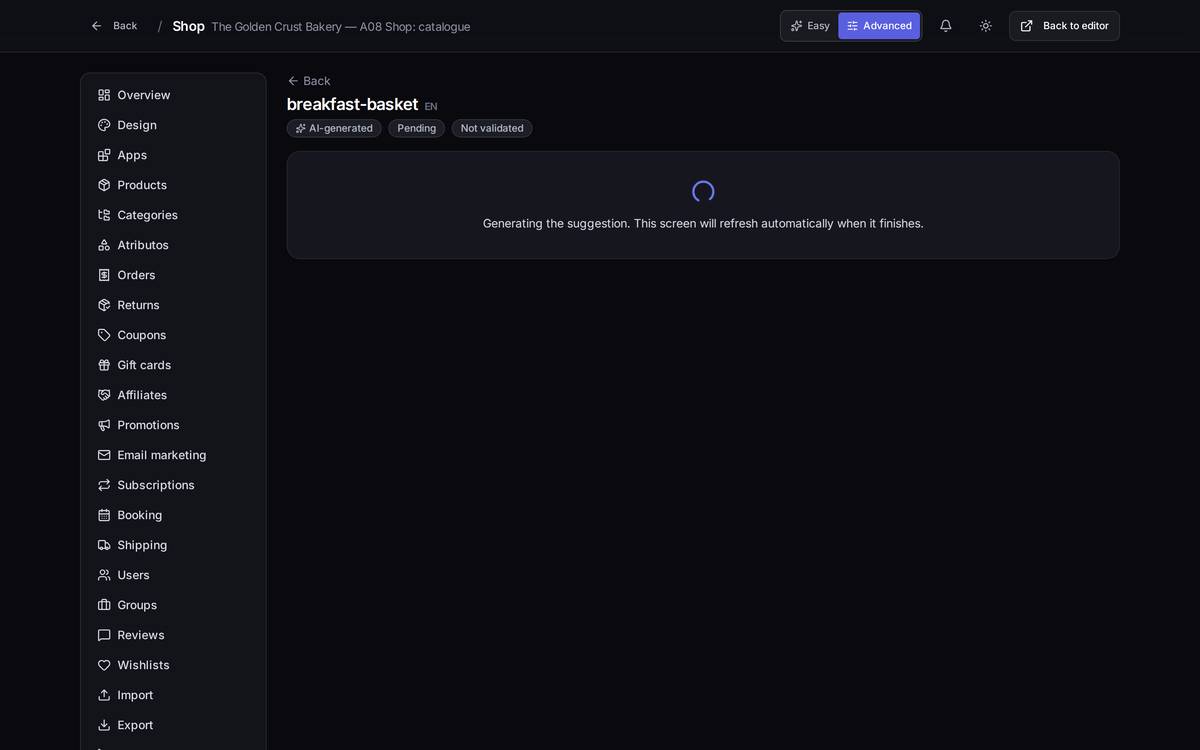
Watch out for… generating suggestions at random: every generation spends AI credits from your plan. Start with the products you sell the most of.
8.9The look of the shop: light or dark
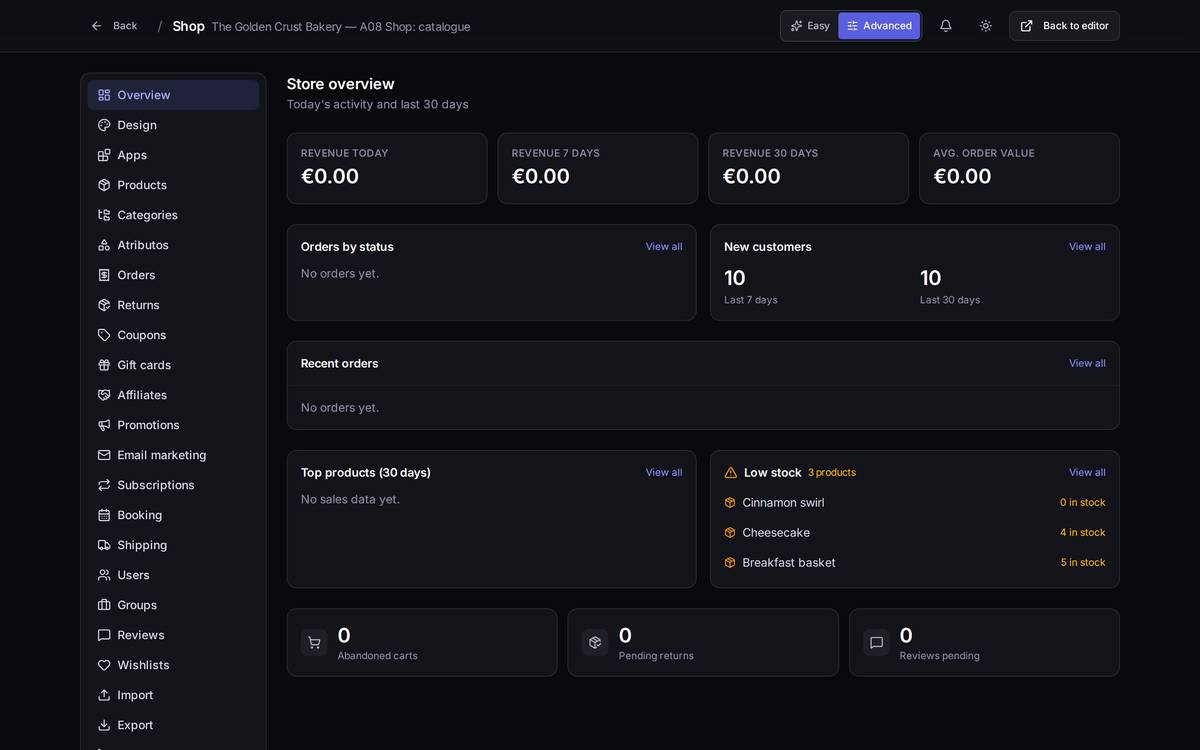
The Speaksite panel is dark, but the Shop section has its own light / dark switch: it is the sun or moon icon in the header, next to the bell. It only changes how YOU see the panel while you work; it does not touch anything about how your shop looks to your customers.
8.10The things that break most often
- I created it as Active and it does not show up in the shop. Go back into the product and click Save again. It is a known bug in the creation flow.
- I upload the photo and I cannot see it. The preview on the product page comes up blank; the thumbnail in the product list does show it. And for your customer to see it, publish the site.
- I cannot find Categories / Attributes / Import. You are in Easy mode. Switch to Advanced in the header.
- It will not let me save. The product name is missing. No warning is shown: the button just stays switched off.
- Deleting has no way back. Not for a product, not for a category, not for a characteristic.